This is the easiest gluten-free bread recipe you will ever make AND it tastes delicious! It's crispy on the outside and soft on the inside, which makes it perfect for avocado toasts, sandwiches, bread crumbs, and croutons. Did I mention it's only four ingredients?
You can also stay in touch with me through social media by following me on Instagram, Pinterest, and TikTok or by subscribing to my newsletter. I discuss my fluoride-free journey on TikTok and in my newsletter.
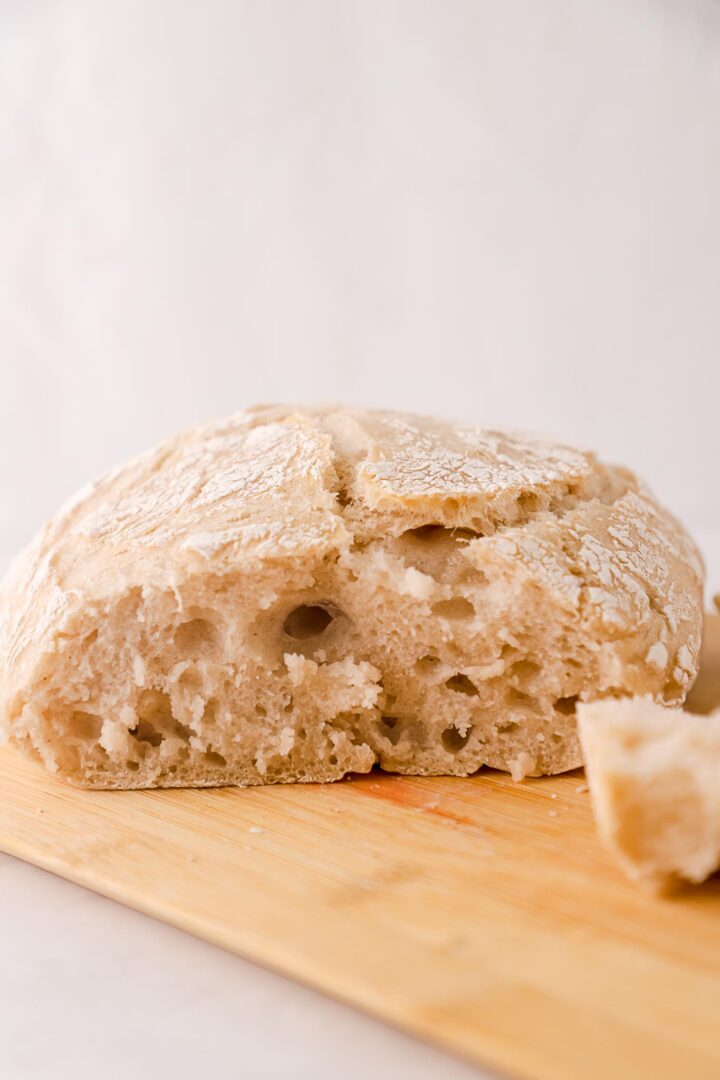
If you're gluten-free, I bet you miss the crunchy bread available at local bakeries. This bread tastes just like the bread you can buy at bakeries, but it's gluten-free and low-fluoride if you use distilled water. Before making this bread, I had never had or made homemade bread before. And, let me just say, homemade bread is so much better than storebought.
This bread takes three hours to make, and most of that time is rising time. Plus, there's no need to knead the bread so your counters can stay clean!
If you're looking for more bread recipes, try out my no-yeast cinnamon bread.
Jump to:
Ingredients
- Caputo Gluten-Free Flour: This flour is AMAZING and the only gluten-free flour I use for this recipe. It tastes fantastic and I don't have to worry about fluoride contamination because it is made in Italy.
- Caputo Active Dry Yeast: This is the only yeast I use for this recipe and it turns out every time.
- Distilled Warm Water: If you want to make this recipe low in fluoride, you MUST use either distilled water or water that does not contain fluoride.
- Redmond Real Salt: the only salt I use because it is fluoride-free.
See recipe card for quantities.
Instructions
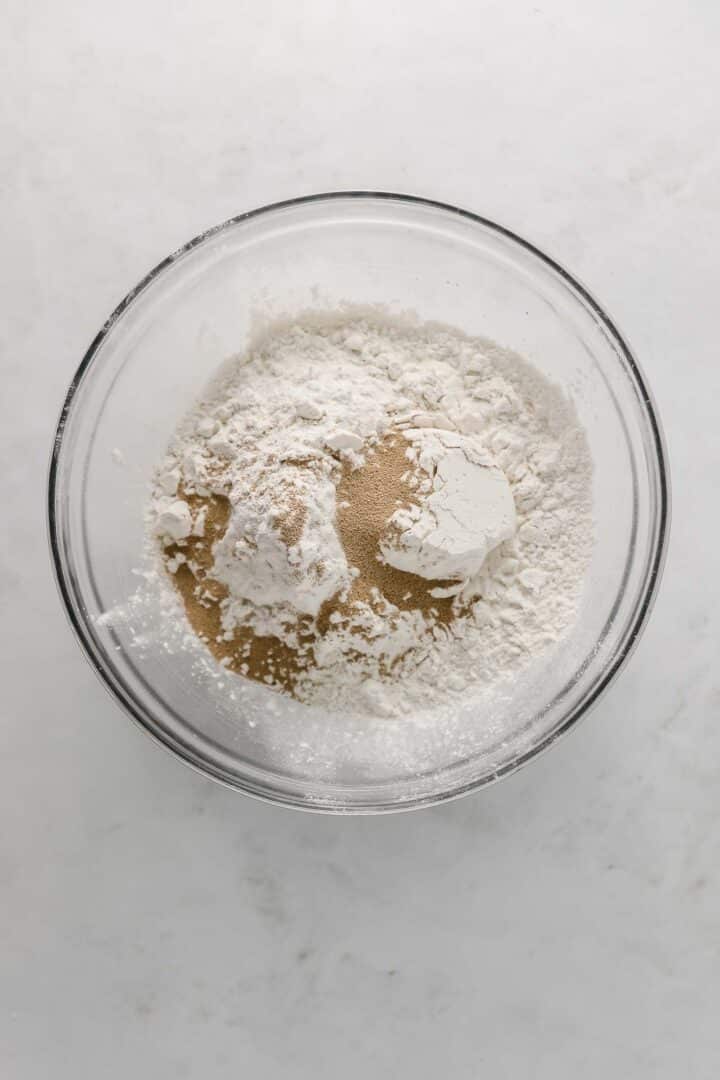
Add flour, yeast, and salt to a large bowl. Mix the dry ingredients until combined.
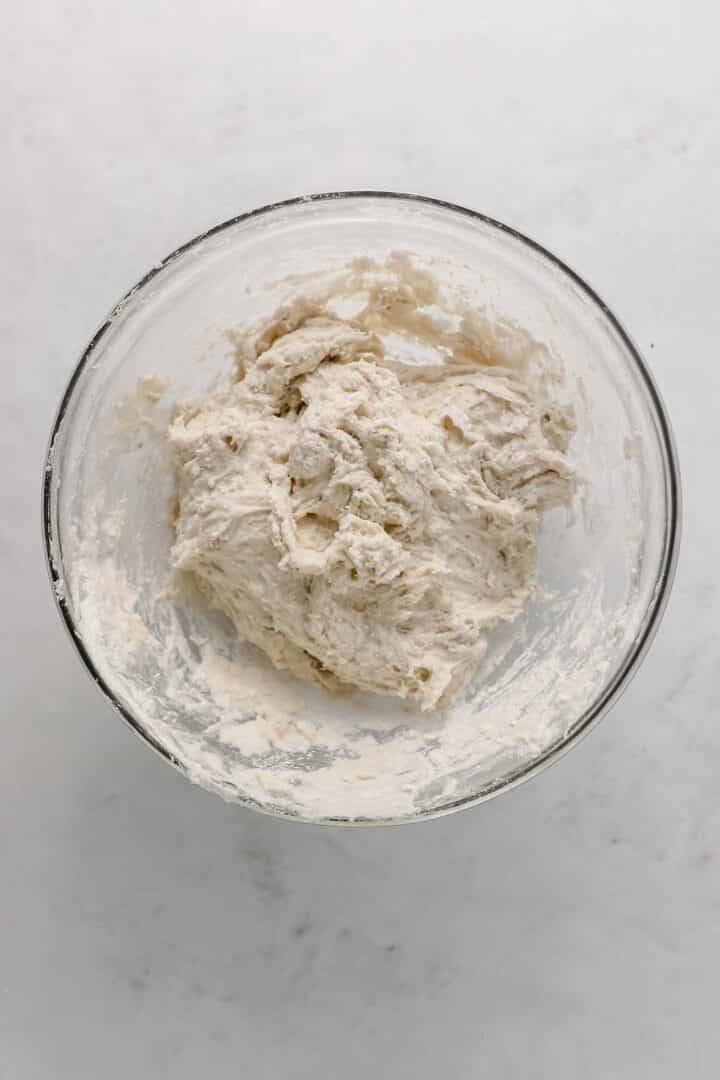
Pour warm distilled water over the mixture and use the handle of a wooden spoon.
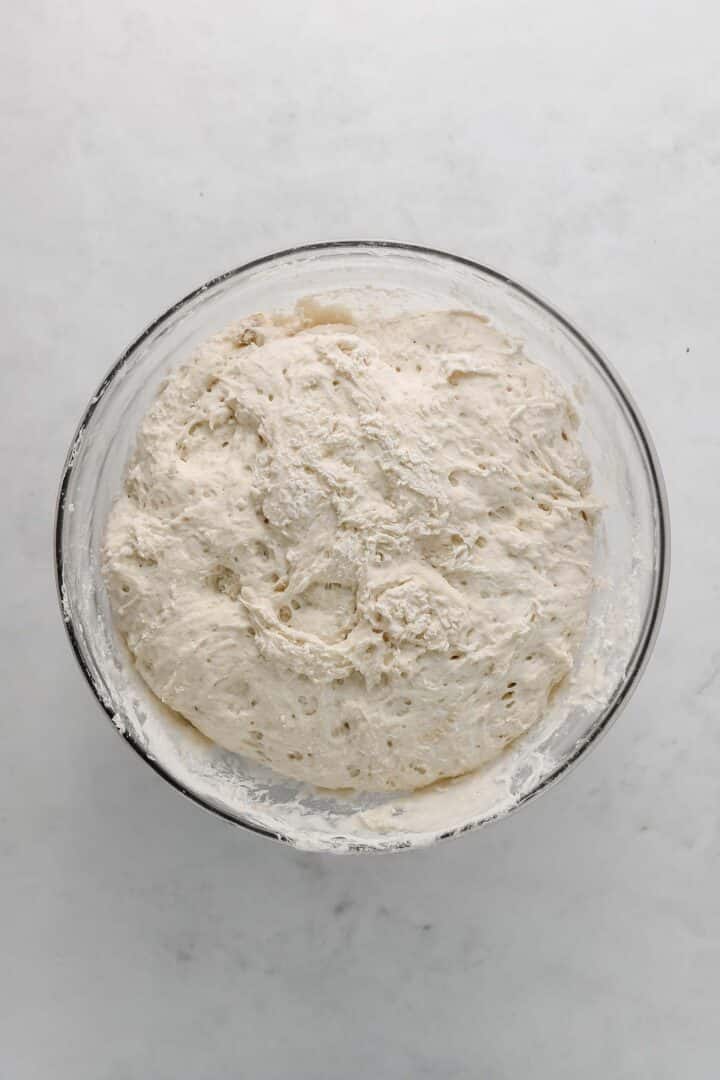
Once the dough is completely mixed, cover with a tea towel or plastic wrap and place in a dry, warm area. Let rise for 2 hours.
Remove the cover after 2 hours. The bread dough should have doubled in size.
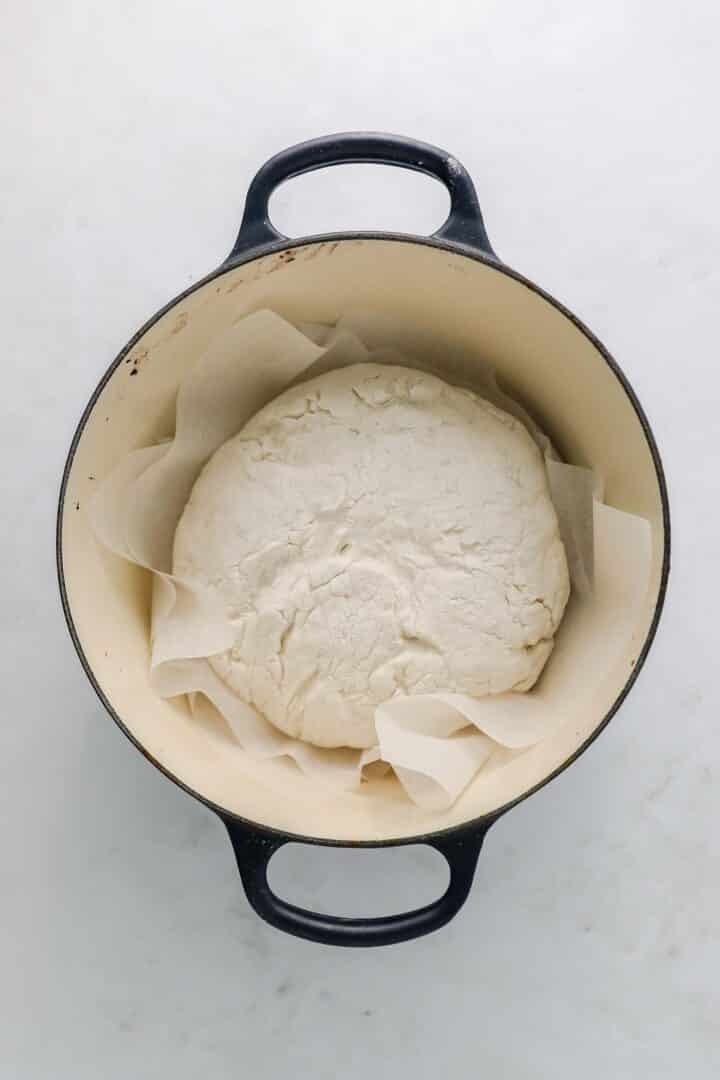
Preheat the oven to 450 degrees. Prepare a Dutch oven by lining it with parchment paper.
Scoop the dough into the dutch oven so it's resting on top of the parchment paper. Use a sharp knife to score the bread.
Cover the dutch oven with its top and bake in the hot oven for 45 minutes on the middle rack. After 45 minutes, remove the top and bake for 15 more minutes. The top should be golden brown.
Remove the bread from the oven and use the parchment paper to lift the bread out of the dutch oven. Let the bread cool completely on a wire rack before cutting.
Wrap the bread in plastic wrap and store it in a ziplock bag at room temperature for up to seven days.
Hint: A wooden spoon is the best tool to use if you're hand mixing the dough (which I recommend). Find my favorite wooden spoon HERE.
Variations
- Rosemary - add 1 tablespoon of chopped rosemary to the dough before letting it rise.
Equipment
- Glass mixing bowls - are a great alternative to plastic mixing bowls that can be toxic.
- Wooden spatula - a non-toxic alternative to spatulas.
- Dutch Oven - a must-have for breadmaking.
- A piece of parchment paper - to line the dutch oven.
Storage
Wrap the bread in plastic wrap and store it in a ziplock bag at room temperature for up to seven days. You can also freeze the bread in a freezer-safe ziplock bag for up to three months.
What makes this recipe low in fluoride?
I use distilled water in this recipe so the bread is very low in fluoride. Most bread is made using water that contains fluoride so bread is usually a high-fluoride food.
FAQ
I have not had success using any other gluten-free flour in this recipe. Caputo's Gluten-Free Flour is the same price as King Arthur's flour on Amazon right now.
If you're sensitive to gluten, then gluten-free bread will be better for you.
This bread contains NO DAIRY. It's perfect for those who are avoiding dairy.
The active time in this recipe is about 15 minutes. Most of the time the bread is either rising or baking.
The top should be golden brown and hard to the touch.
Xanthan gum is not needed in this recipe.
A bread machine is not necessary for this recipe. That's why I love this gluten-free bread recipe! I don't want to use a bread machine to make my weekly bread.
Top tip
A wooden spoon is the best tool to use if you're hand mixing the dough (which I recommend).
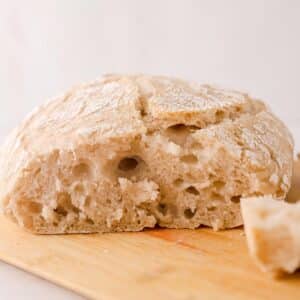
Easy No-Knead Gluten-Free Bread (low-fluoride)
Equipment
- Dutch Oven
- A piece of parchment paper
Ingredients
- 3 cups Caputo Gluten-Free Flour
- 2 teaspoon Caputo Active Dry yeast
- 1 ½ cups distilled warm water
- 1 teaspoon Redmond Real Salt
Instructions
- Add flour, yeast, and salt to a large bowl. Mix the dry ingredients until combined.
- Pour warm distilled water over the mixture and use the handle of a wooden spoon.
- Once the dough is completely mixed, cover with a tea towel or plastic wrap and place in a dry, warm area. Let rise for 2 hours.
- Remove the cover after 2 hours. The bread dough should have doubled in size.
- Preheat the oven to 450 degrees. Prepare a Dutch oven by lining it with parchment paper.
- Scoop the dough into the dutch oven so it's resting on top of the parchment paper. Use a sharp knife to score the bread.
- Cover the dutch oven with its top and bake in the hot oven for 45 minutes on the middle rack. After 45 minutes, remove the top and bake for 15 more minutes. The top should be golden brown.
- Remove the bread from the oven and use the parchment paper to lift the bread out of the dutch oven. Let the bread cool completely on a wire rack before cutting.
- Wrap the bread in plastic wrap and store it in a ziplock bag at room temperature for up to seven days.
Notes
Tried this recipe? Please leave a star ⭐️⭐️⭐️⭐️⭐️ rating below and/or a review in the comments section further down the page. You can also stay in touch with me through social media by following me on Instagram, Pinterest, and TikTok or by subscribing to my newsletter. I discuss my fluoride-free journey on TikTok and in my newsletter.



Erica says
So easy and turned out so well! I'm amazing. I used the Caputo flour from Amazon. Only homemade gluten free bread that's turned out for me.
Kate says
I'm so happy you loved it. Truly the best flour for GF bread.
Anonymous says
I was skeptical that this recipe work work, but it does. Delicious and easy. Thanks
Judy says
Do I need to shape the dough into a round loaf?
Kate says
You can just flip it from the bowl to the dutch oven. As long as it's in a relatively round shape it will be good!