
A good pie crust is necessary for any pie. It's the foundation for so many desserts from pies to pop tarts to berry tarts. The secret to this flaky crust? Cold ice water.
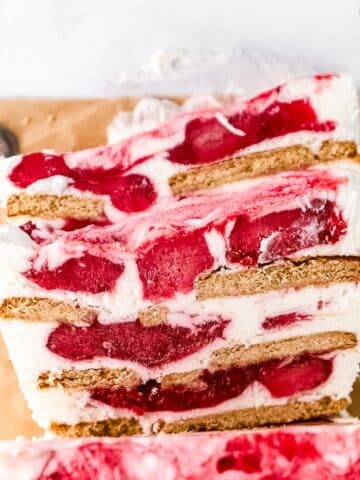
This pie crust is the perfect base for my recipe for gluten-free lemon meringue pie. Find that recipe HERE.
Equipment
- Pie Weights Jar
- Williams Sonoma Silicone Perfect Pie Crust Mold
- Williams Sonoma Fall Pie Punches, Set of 6
- Williams Sonoma Stoneware Pie Dish, Set of 3
- Autumn Leaves Embossed Rolling Pin
Ingredients
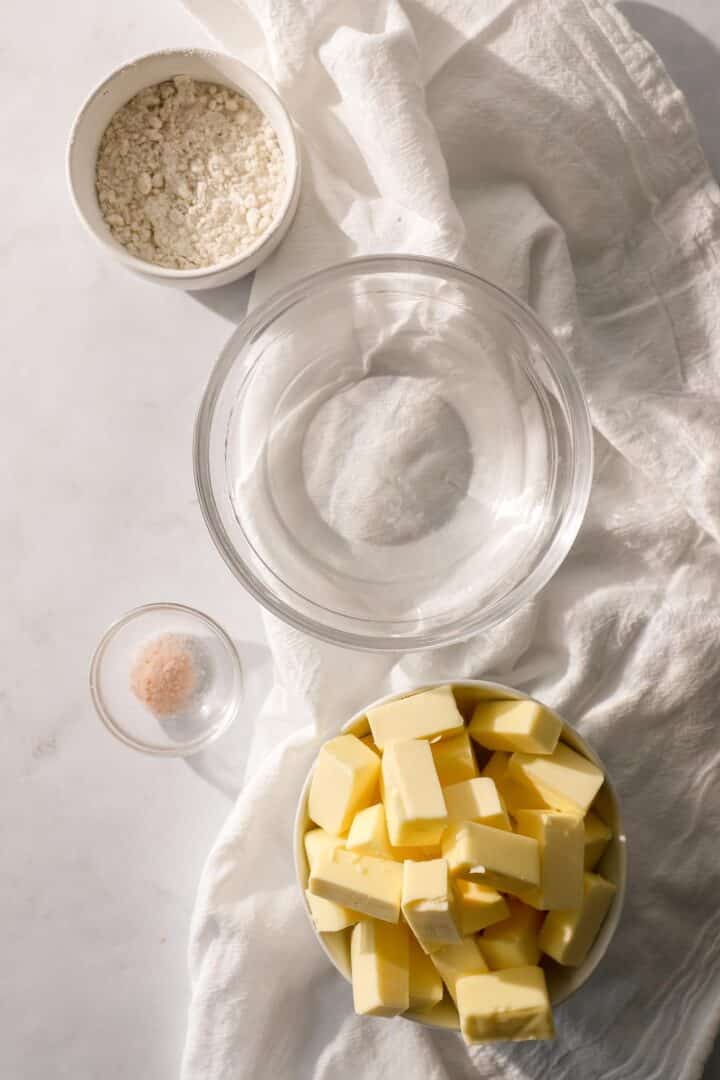
- Gluten-free flour (I like Cup4Cup or King Arthur Measure-for-Measure)
- Salt
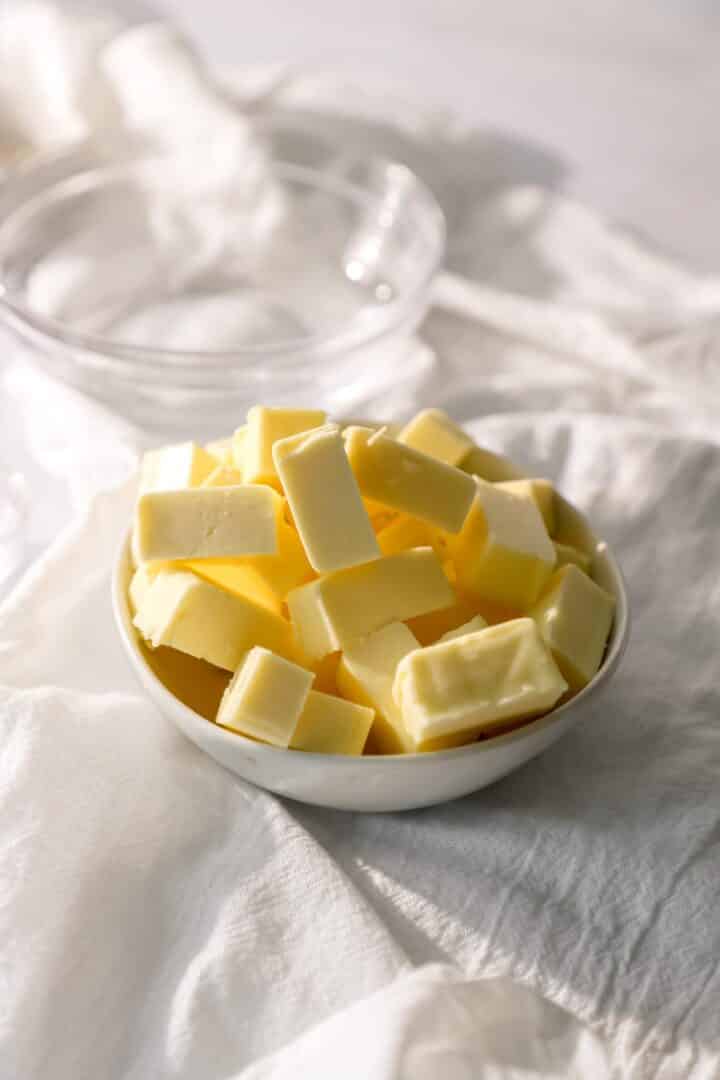
- Cold butter, cubed
- Cold water
See recipe card for quantities.
Instructions
Pour the flour, salt, and ¼ of the cubed butter into the food processor. Pulse until crumbly.
Continue adding the butter until totally combined.
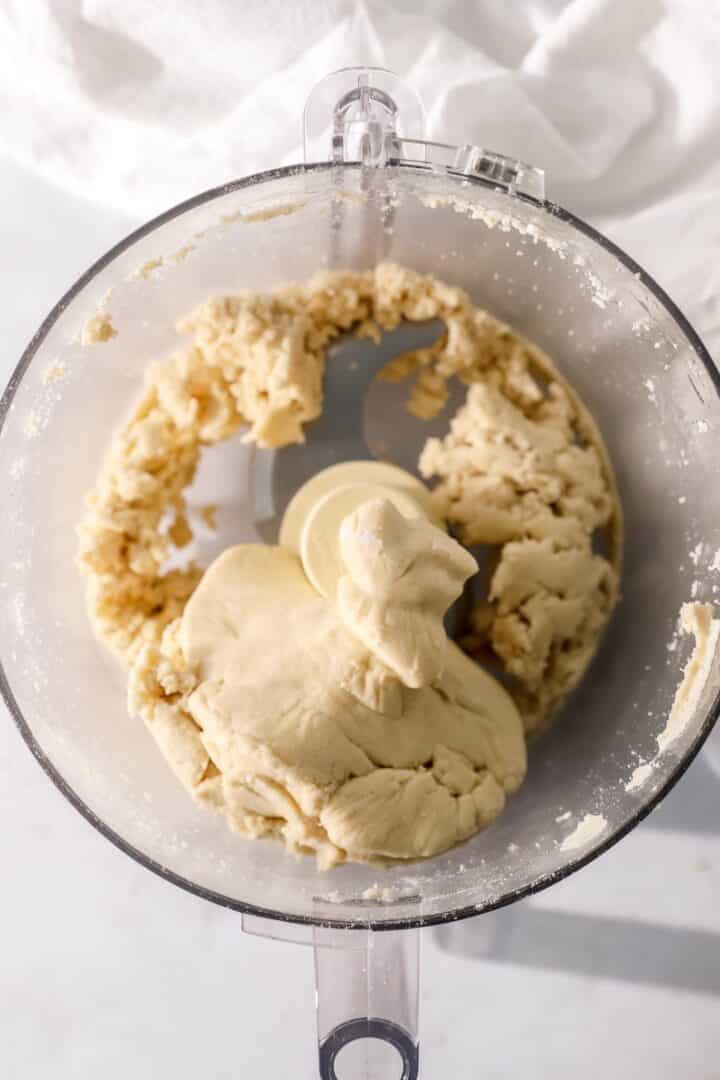
Slowly add the cold water one tablespoon at a time. The dough should form a ball. Once the dough forms a ball, stop adding the water.
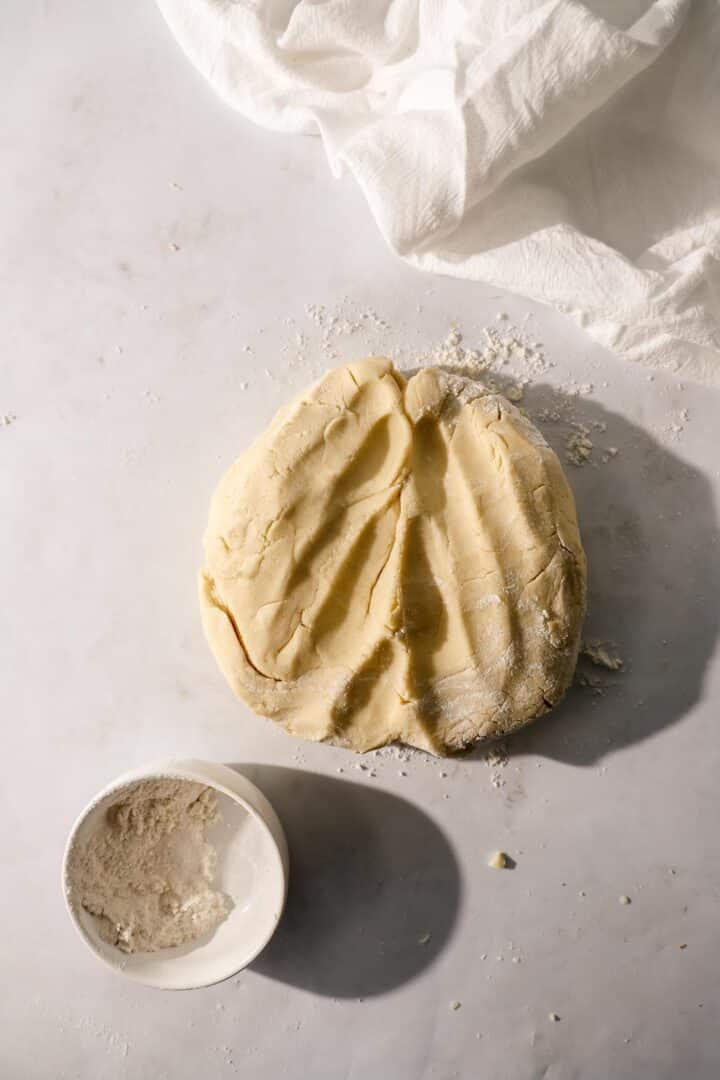
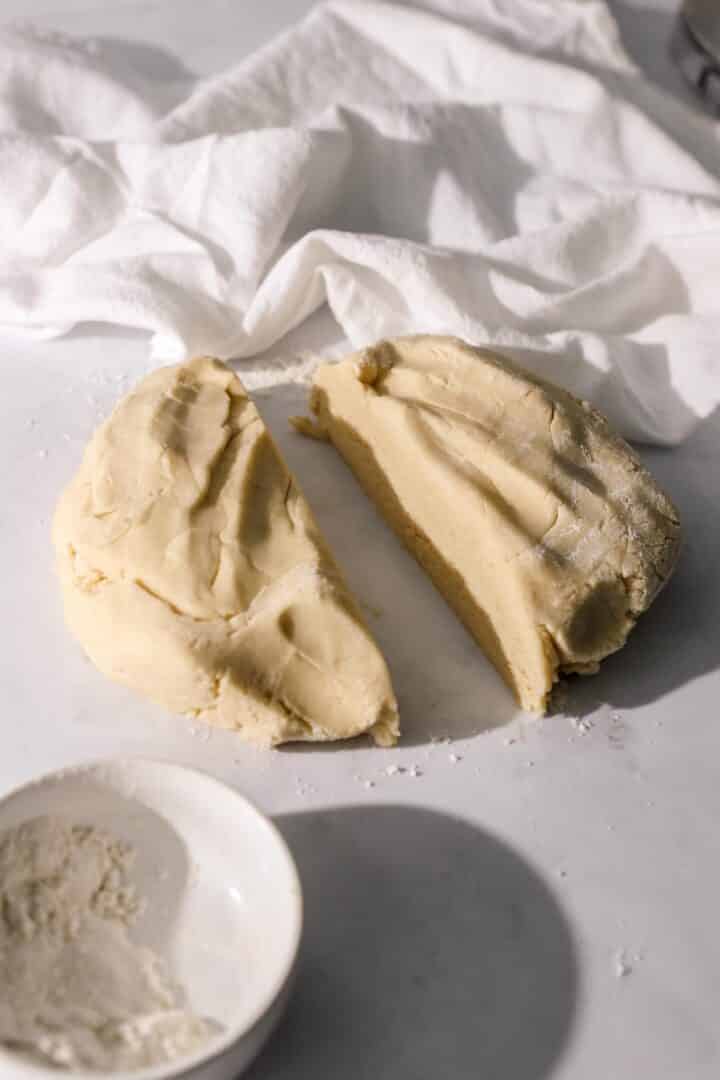
Pat the dough into two disks on a floured surface. Wrap both in plastic wrap and refrigerate for at least two hours.
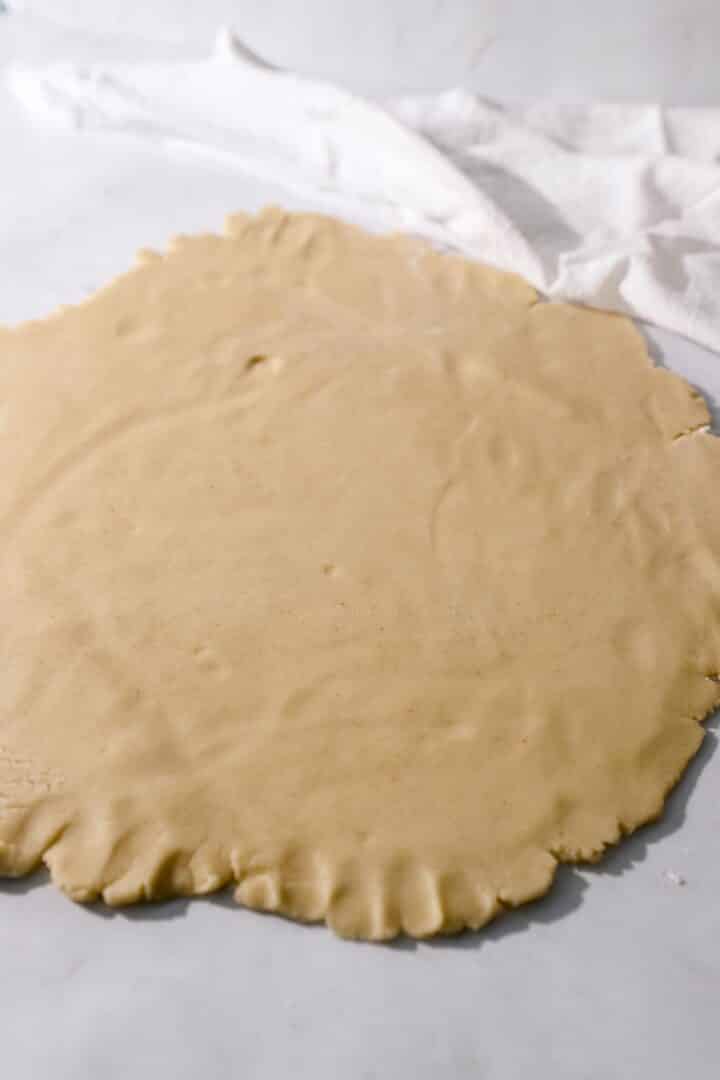
After two hours, roll each disk out on a floured surface and use it for whatever you need!

Gluten-Free Pie Crust
Equipment
- Plastic wrap
- Parchment paper (for rolling)
Ingredients
- 2½ cups gluten-free all-purpose flour blend I use King Arthur Measure for Measure
- 1 teaspoon xanthan gum omit if your flour blend already contains it
- 1 tablespoon granulated sugar optional, for sweet pies
- 1 teaspoon salt
- 1 cup 2 sticks cold unsalted butter, cut into ½-inch cubes
- 8-10 tablespoons ice water
Instructions
- Prep the butter: Cut butter into cubes and return to refrigerator while you prepare the dry ingredients. Fill a glass with ice water and set aside.
- Mix dry ingredients: In a food processor, pulse together the flour, xanthan gum (if using), sugar (if using), and salt until combined.
- Cut in butter: Add half the cold butter cubes. Pulse 8-10 times until the mixture resembles coarse meal. Add remaining butter and pulse 5-6 times until you have pea-sized pieces of butter throughout.
- Add liquid: With the processor running, drizzle in 8 tablespoons of ice water (leave the ice behind). Pulse several times. The dough should look shaggy and hold together when pinched. If it's still too dry, add more ice water 1 tablespoon at a time, pulsing between additions. The dough should be moist but not wet or sticky.
- Shape and chill: Turn dough out onto a clean surface. Gather into a ball, then divide in half. Flatten each half into a 1-inch thick disk. Wrap tightly in plastic wrap and refrigerate for at least 2 hours or up to 3 days. (Can be frozen for up to 3 months.)
- Roll out: Remove one disk from refrigerator and let sit for 5-10 minutes to soften slightly. Place between two sheets of parchment paper dusted with gluten-free flour. Roll from the center outward into a 12-inch circle, about ⅛-inch thick. Rotate the dough frequently and add more flour to the parchment as needed to prevent sticking.
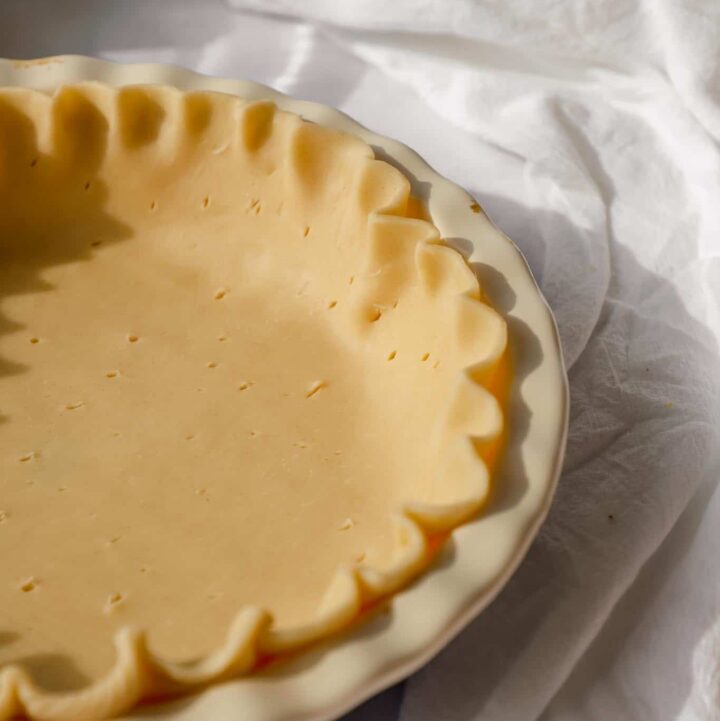
- Transfer to pie plate: Peel off top parchment. Flip the dough into a 9-inch pie plate and gently press into the bottom and sides. Peel off remaining parchment. Trim edges leaving a 1-inch overhang, then fold under and crimp as desired.
- Use as directed: For recipes requiring a pre-baked crust, prick the bottom with a fork, chill for 30 minutes, then line with parchment and pie weights. Bake at 375°F for 20 minutes with weights, then remove weights and bake 10-15 minutes more until golden.
Notes
Keep it cold: Work quickly and keep your ingredients cold. If the dough becomes too soft while rolling, return it to the refrigerator for 10-15 minutes.
Chilling is essential: This allows the flour to fully hydrate and the butter to firm up, making the dough easier to roll and creating a flakier crust.
Rolling tips: Gluten-free dough is more fragile. If it tears, simply patch it with scraps and press together. The parchment paper method makes handling much easier.


Leave a Reply