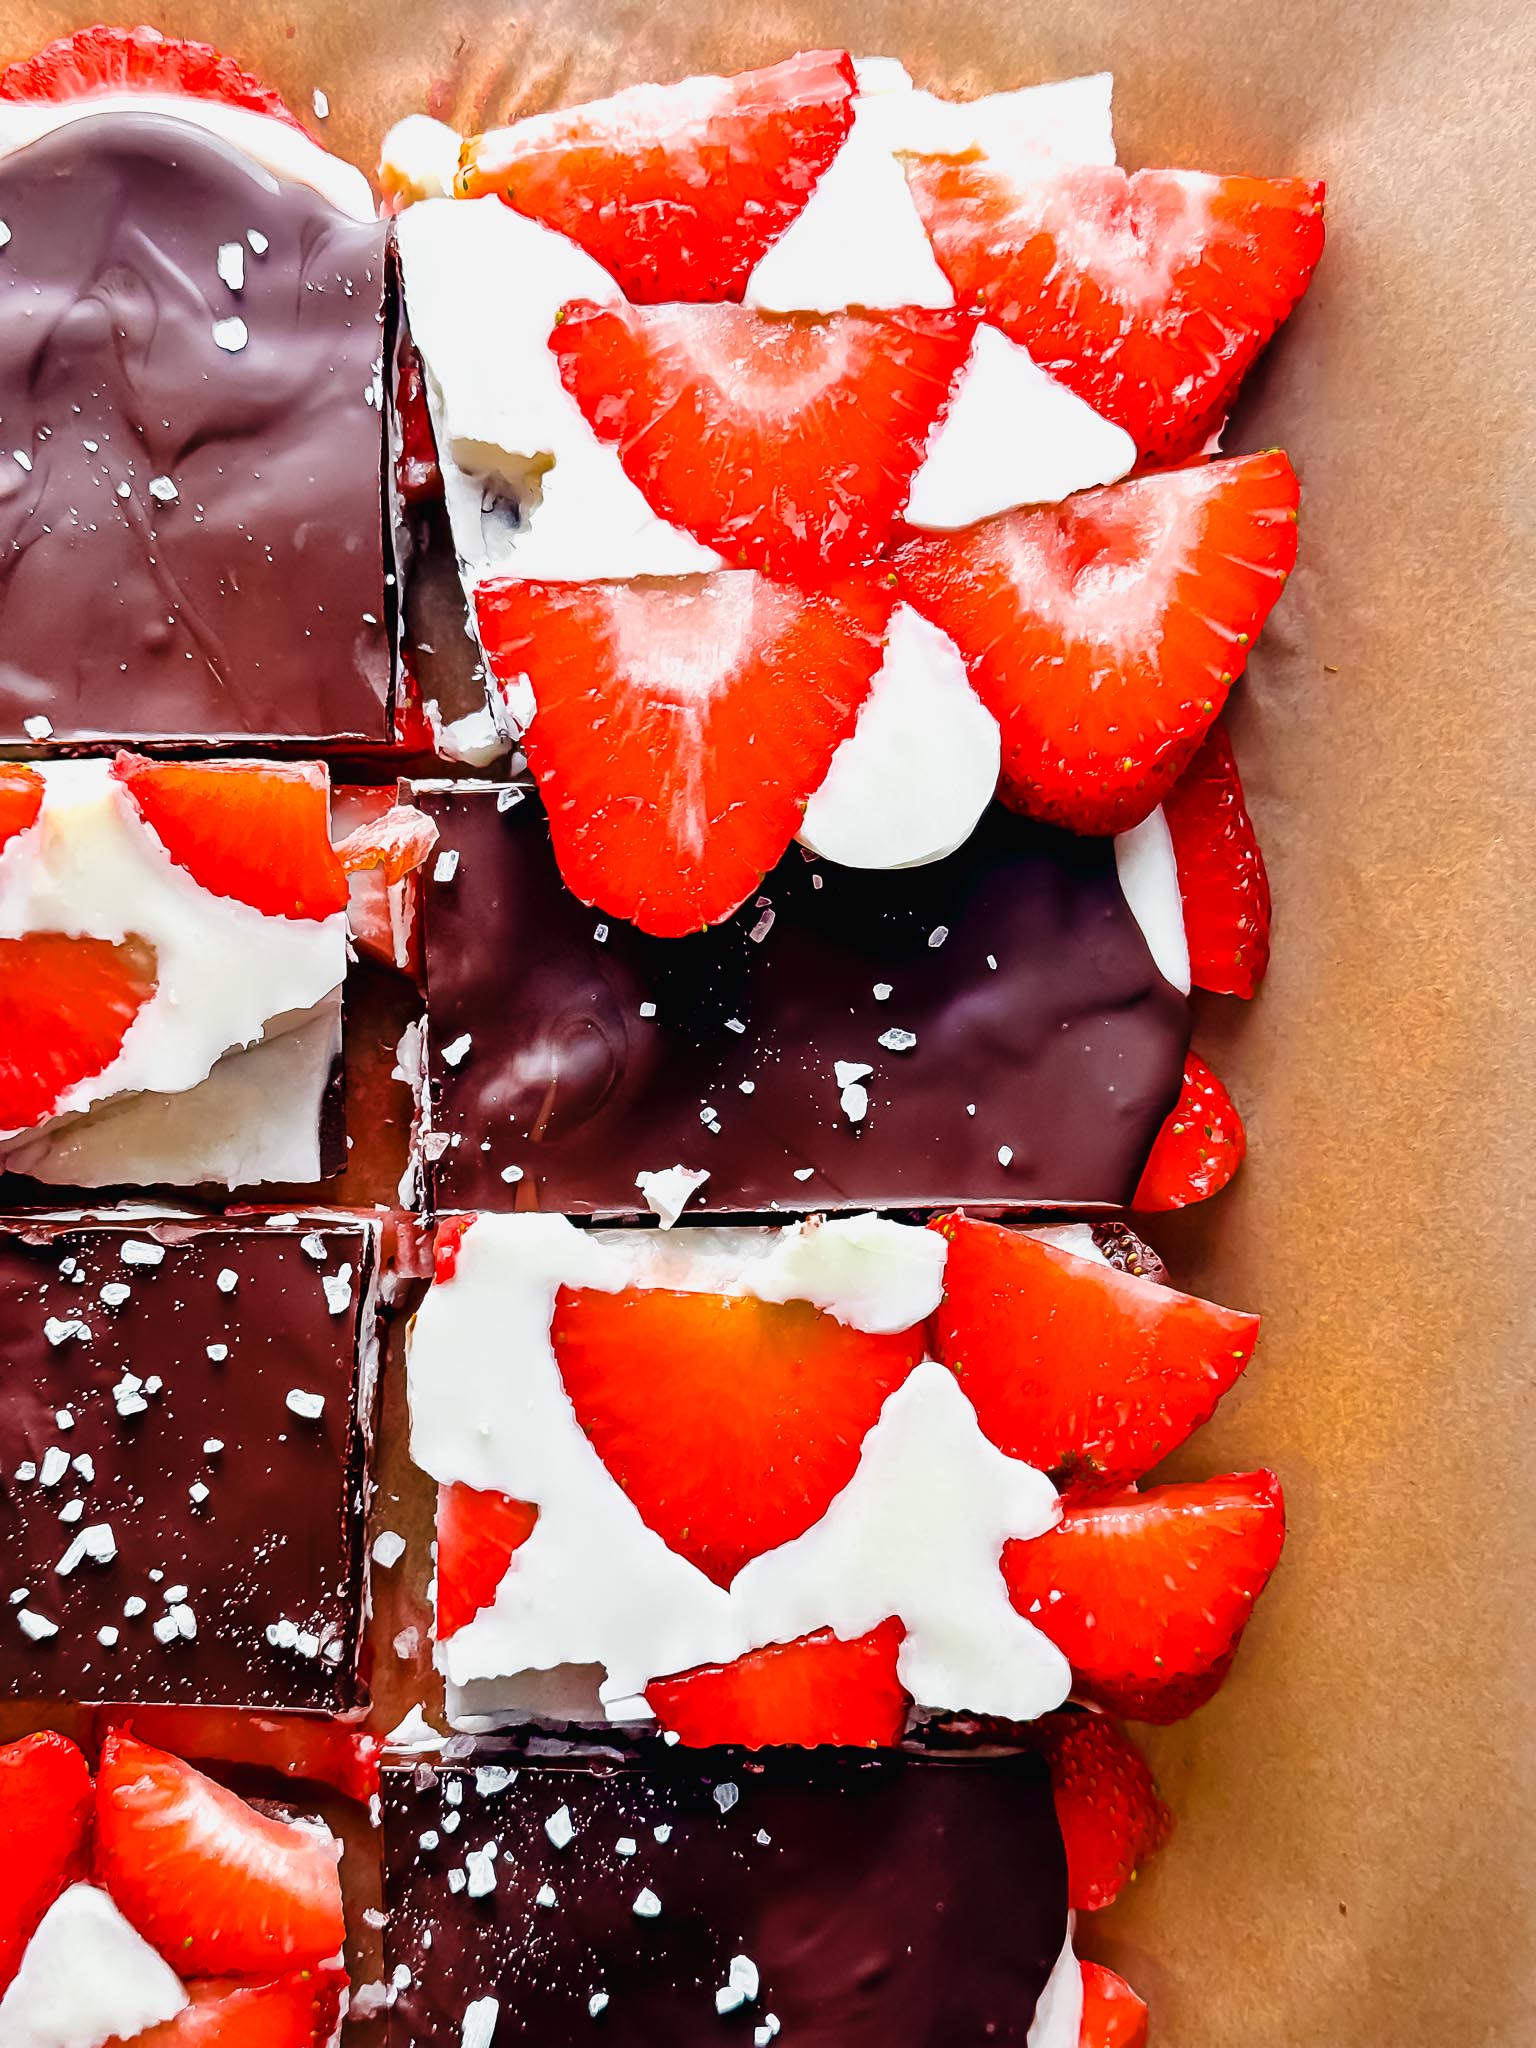
There's something magical about breaking into a piece of homemade chocolate bark. The snap of the chocolate, the burst of real strawberry, and that gorgeous marbled swirl that makes it look like you spent hours in the kitchen. But here's the secret: this strawberry chocolate bark takes just 15 minutes of active time and five simple ingredients.
I've been making chocolate bark for over a decade, and this white and dark chocolate version has become my go-to when I want something that looks impressive but comes together effortlessly. The key trick that makes this recipe better than others? Patting your strawberries completely dry before adding them to the chocolate. This one step prevents the chocolate from seizing and keeps your bark smooth and glossy instead of grainy. It's a small detail that makes a huge difference in the final result.
As a future Registered Dietitian who's been gluten-free for more than 10 years, I love that this recipe is naturally gluten-free and lets the ingredients shine without any unnecessary additions. The dark chocolate brings antioxidants and rich flavor, while the white chocolate adds creamy sweetness. Together, they create a flavor combination that appeals to everyone at the table.
Why This Strawberry Bark Recipe Works
While the viral strawberry bark trend of 2024 focused on layering peanut butter with chocolate, this recipe takes a different approach by celebrating the pure combination of strawberries and chocolate. The swirl technique creates a stunning visual effect that's perfect for Valentine's Day, Mother's Day, or anytime you want to treat yourself to something special.
The contrast between dark and white chocolate means you get two experiences in one bite. Dark chocolate lovers and white chocolate fans can both find their happy place in this bark, and the fresh strawberry pieces add a fruity brightness that cuts through the richness of the chocolate.
This recipe also offers flexibility. You can create dramatic swirls, subtle marbling, or even keep the chocolates more separate for a half-and-half effect. Each batch becomes your own edible artwork.
Ingredients You'll Need
For the bark:
- 1½ cups strawberries, thinly sliced and patted dry
- 8 oz dark chocolate, melted
- 4 oz white chocolate, melted
The ingredient list is intentionally simple. Quality chocolate makes all the difference here, so choose a dark chocolate you enjoy eating on its own. I typically use chocolate chips or chopped chocolate bars that melt smoothly and create that satisfying snap when the bark sets.
Equipment
Baking sheet: A standard half-sheet pan works perfectly for spreading the chocolate into an even layer. I use Nordic Ware sheet pans because they don't warp in the freezer.
Silicone baking mat or parchment paper: This prevents the bark from sticking and makes cleanup incredibly easy. These silicone baking mats are reusable and create a perfectly smooth surface for the chocolate.
Small bowls for melting: You'll need two separate bowls to melt the dark and white chocolate. Glass or ceramic bowls work well in the microwave.
Offset spatula or butter knife: For spreading the chocolate and creating swirls. A small offset spatula gives you more control over the marbling effect.

How to Make Strawberry Chocolate Bark
Step 1: Line your baking sheet with parchment paper or a silicone mat. This step is essential for easy removal once the bark sets.
Step 2: Slice your strawberries thinly (about ¼ inch thick) and spread them on paper towels. Pat them completely dry with another paper towel. This is the trick that prevents your chocolate from getting grainy or clumpy. Any moisture on the strawberries will cause the chocolate to seize, so take an extra minute to make sure they're thoroughly dry.
Step 3: Melt the dark chocolate in a microwave-safe bowl in 30-second intervals, stirring between each interval, until completely smooth. Repeat with the white chocolate in a separate bowl.
Step 4: Pour the melted dark chocolate onto your prepared baking sheet and spread it into an even layer, about ¼ inch thick. Work quickly before it starts to set.
Step 5: Drizzle the melted white chocolate over the dark chocolate in lines or dollops. Use an offset spatula or the tip of a butter knife to gently swirl the white chocolate into the dark, creating a marbled pattern. Don't overmix or the colors will muddy together instead of creating distinct swirls.
Step 6: Immediately press the dried strawberry slices into the chocolate, distributing them evenly across the surface. Press gently so they stick but don't sink completely into the chocolate.
Step 7: Transfer the baking sheet to the freezer for 15-20 minutes, or until the bark is completely set and firm to the touch.
Step 8: Once set, break the bark into irregular pieces by hand or cut it into squares with a sharp knife. The irregular pieces have a more rustic, artisan look that I prefer.
Tips for Success
Chocolate quality matters: Use real chocolate rather than candy melts for the best flavor and texture. Look for chocolate that lists cocoa butter as an ingredient rather than vegetable oils.
Temperature control: If your chocolate gets too thick while working with it, you can rewarm it gently in the microwave for 10-15 seconds. Overheated chocolate can separate, so use short bursts.
Create different patterns: For a more dramatic swirl, use a toothpick or skewer to pull the chocolate in different directions. For a subtler effect, just run your spatula through once or twice.
Storage: Store your bark in an airtight container in the refrigerator for up to two weeks or in the freezer for up to a month. The chocolate stays perfectly snappy when cold and the strawberries maintain their texture.
Make it seasonal: This recipe works beautifully year-round. In the fall, try it with my pumpkin chocolate date caramel cups for another chocolate treat. During the holidays, it pairs nicely with gluten-free chocolate chip muffins for a festive brunch spread.

Variations to Try
Add freeze-dried strawberries: Crush freeze-dried strawberries and sprinkle them on top along with the fresh slices for extra strawberry flavor and a fun textural contrast.
Include nuts: Chopped pistachios or slivered almonds add crunch and complement the strawberries beautifully.
Try different fruit: This technique works equally well with raspberries, thinly sliced bananas (try it with inspiration from these chocolate caramel banana bites), or even pomegranate arils for a festive touch.
Add a drizzle: Once the bark is set, drizzle additional melted chocolate on top for extra decoration.
Serving Suggestions
This strawberry chocolate bark makes an impressive dessert to serve after dinner alongside gluten-free strawberry shortcake. It's also perfect for gift-giving when broken into pieces and packaged in clear cellophane bags tied with ribbon.
Serve it on a beautiful platter at your next gathering and watch it disappear. The combination of dark and white chocolate ensures there's something for everyone, and the fresh strawberries make it feel lighter and more sophisticated than typical candy bark.

Strawberry Chocolate Bark – White & Dark Chocolate Swirl
Equipment
- Parchment paper or silicone baking mat
- 2 Microwave-safe bowls
- Offset spatula or butter knife
Ingredients
- 1½ cups strawberries thinly sliced and patted dry
- 8 oz dark chocolate melted
- 4 oz white chocolate melted
Instructions
- Line a baking sheet with parchment paper or a silicone mat.
- Slice strawberries thinly and pat completely dry with paper towels.
- Melt dark chocolate in a microwave-safe bowl in 30-second intervals, stirring between each, until smooth. Repeat with white chocolate in a separate bowl.
- Pour melted dark chocolate onto prepared baking sheet and spread into an even ¼-inch layer.
- Drizzle white chocolate over dark chocolate in lines or dollops.
- Use an offset spatula or knife to gently swirl white chocolate into dark chocolate, creating a marbled pattern.
- Press dried strawberry slices evenly into the chocolate surface.
- Transfer to freezer for 15-20 minutes until completely set.
- Break into irregular pieces or cut into squares.
Notes
Use real chocolate containing cocoa butter for best results
Store in airtight container in refrigerator for up to 2 weeks or freezer for up to 1 month
Work quickly when swirling to prevent chocolate from setting before you finish
For more dramatic swirls, use a toothpick to pull chocolate in different directions