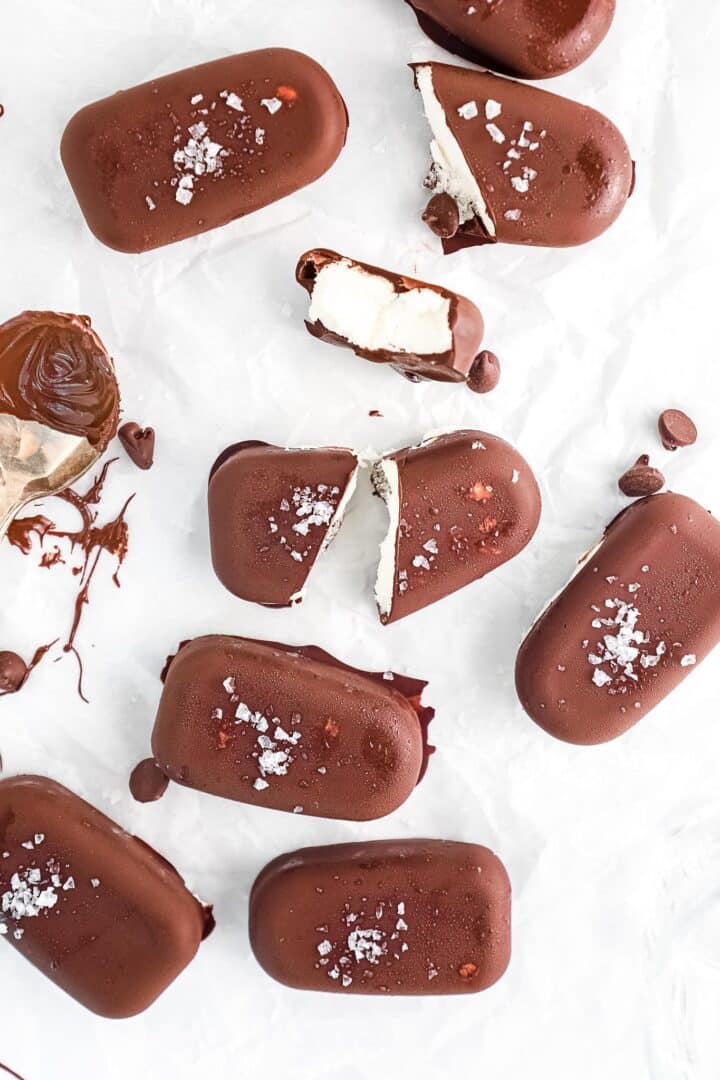
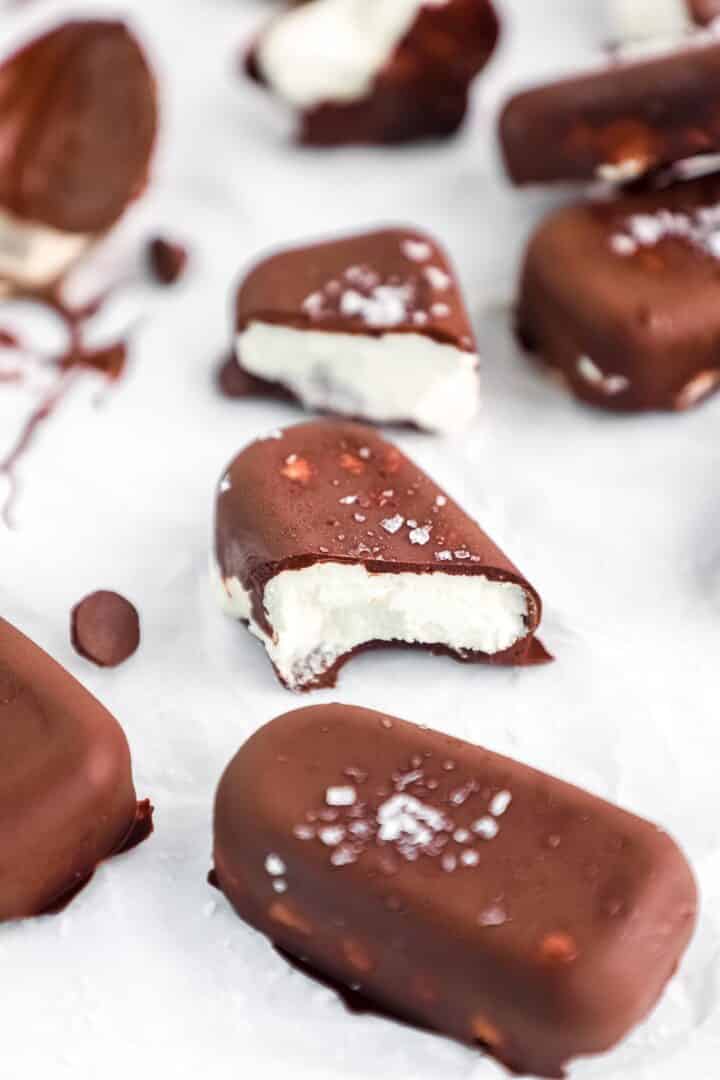
Are you ready to experience the sheer bliss of sinking your teeth into a homemade chocolate ice cream bar on a scorching summer day? Look no further! We have the ultimate recipe that will transport you to chocolatey heaven. These homemade chocolate ice cream bars are the epitome of indulgence, combining rich dark chocolate with velvety smooth cream for a delightful frozen dessert. Get your taste buds ready as we dive into this easy and mouthwatering chocolate ice cream bars recipe.
Ingredients
- Dark Chocolate: Dark chocolate is the star of the show, providing a rich and intense chocolate flavor. Its deep cocoa notes create a decadent base for the ice cream bars, delivering a satisfyingly bittersweet taste. Additionally, dark chocolate contains antioxidants that offer potential health benefits, making it an indulgence you can feel good about.
- Heavy Cream: The heavy cream brings luxurious creaminess to the dessert, resulting in a smooth and velvety texture. When whipped to stiff peaks, the heavy cream adds a light and airy component, balancing the richness of the chocolate. It provides the necessary fat content for a creamy frozen treat that melts in your mouth.
- Orange Zest: The addition of orange zest adds a bright and refreshing twist to the chocolate ice cream bars. The citrusy aroma and tangy notes from the zest complement the richness of the chocolate, enhancing its overall flavor profile. The hint of orange adds a touch of summer and makes each bite a burst of zesty delight.
- Vanilla Extract: Vanilla extract acts as a flavor enhancer, accentuating the chocolate's depth and providing a subtle sweetness. Its warm and comforting notes bring a comforting essence to the dessert, elevating the overall taste experience.
- Granulated Sugar: Sugar not only adds sweetness but also helps to balance the flavors. It enhances the chocolate's natural sweetness, ensuring a harmonious blend of flavors. The sugar also aids in creating a smooth and creamy texture, preventing ice crystals from forming and contributing to the overall indulgent mouthfeel.
Creating Your Homemade Chocolate Ice Cream Bars
- Step 1: Preparing the Silicone Popsicle Molds
- Gather your silicone Popsicle molds and place them on a baking sheet, ensuring they are ready to be filled with the delectable mixture.
- Step 2: Whipping Up the Creamy Filling
- In a large bowl, whip the heavy cream until it reaches stiff peaks, creating a heavenly texture that will make your ice cream bars irresistibly creamy.
- Add the granulated sugar, orange zest, and vanilla extract to the whipped cream, enhancing the flavor and infusing it with a delightful citrusy twist.
- Step 3: Melting the Dark Chocolate
- Melt the dark chocolate over a double boiler until it transforms into a smooth and velvety consistency. This molten chocolate will be the luscious coating for your homemade ice cream bars.
- Step 4: Coating the Mold with Chocolate
- Take a teaspoon of the melted chocolate and evenly spread it on the bottom and sides of each silicone popsicle mold, ensuring full coverage and creating a tantalizing chocolate barrier.
- Step 5: Adding the Creamy Filling
- Fill a piping bag with the prepared cream mixture, and with a steady hand, pipe it into each popsicle mold on top of the chocolate coating. Witness the creation of creamy layers that will melt in your mouth.
- Step 6: Seal the Deal with More Chocolate
- To complete the heavenly layers, add another teaspoon of melted chocolate to the creamy filling, spreading it evenly to create a luscious top coating.
- Step 7: Freezing Time
- Patience is key at this stage. Place the filled molds in the freezer and let them sit overnight or for at least 5 hours.
- Step 8: Finishing Touches
- Finally, the time has come to remove the frozen chocolate ice cream bars from their silicone molds. Gently release them from their casings using your fingers.
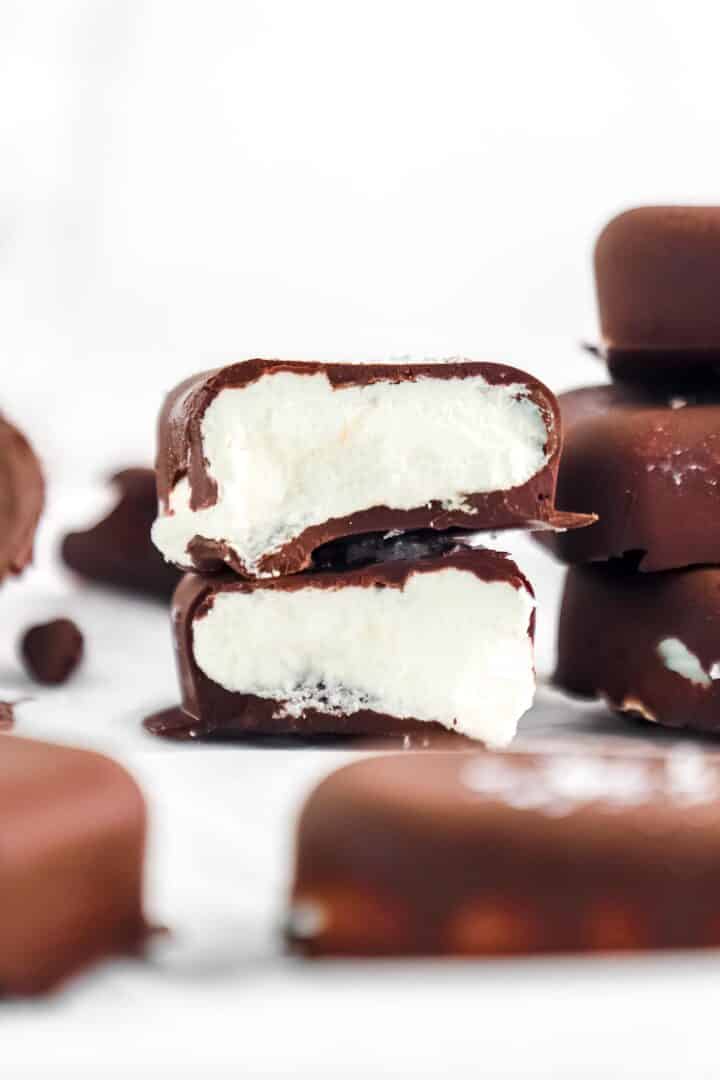
Troubleshooting Tips
- Popsicle sticks are optional for this recipe, but they can add a fun touch for those who prefer a handheld treat.
- Whip the cream until stiff peaks form to achieve the perfect texture for your homemade chocolate ice cream bars.
- For the best results, consider using a high-quality silicone Popsicle mold like this one.

FAQs about Homemade Chocolate Ice Cream Bars
Absolutely! Feel free to experiment with different types of chocolate to cater to your personal preferences. Milk chocolate can create a sweeter and creamier flavor profile.
Of course! While orange zest adds a refreshing tang, you can try using lemon zest or even lime zest for a citrusy twist.
Definitely! Let your creativity shine by sprinkling crushed nuts, chocolate shavings, or colorful sprinkles on top of the melted chocolate before freezing.
If stored properly in an airtight container in the freezer, they can be enjoyed for up to two weeks.
Homemade Chocolate Ice Cream Bars
Ingredients
- 7 ounces dark chocolate
- 1 cup heavy cream
- 1 tablespoon orange zest
- 1 teaspoon vanilla extract
- 1 tablespoon granulated sugar
Instructions
- Prepare silicone Popsicle molds on a baking sheet.
- Whip heavy cream until it forms stiff peaks.
- Add sugar, orange zest, and vanilla extract to the whipped cream and mix well.
- Melt dark chocolate until smooth.
- Spread a teaspoon of melted chocolate into each silicone mold, coating the bottom and sides evenly.
- Fill a piping bag with the cream mixture and pipe it into each mold on top of the chocolate.
- Top the cream with another teaspoon of melted chocolate, spreading it evenly.
- Freeze the molds overnight or for at least 5 hours.
- Remove the frozen bars from the molds and enjoy!

