This easy gluten-free crème brûlée is rich, decadent, and easy to make. It's also gluten-free and filled with vanilla and cream.
Tried this recipe? Please leave a star ⭐️⭐️⭐️⭐️⭐️ rating below and/or a review in the comments section down the page. You can also stay in touch with me through social media by following me on Instagram, Pinterest, and TikTok or by subscribing to my newsletter.
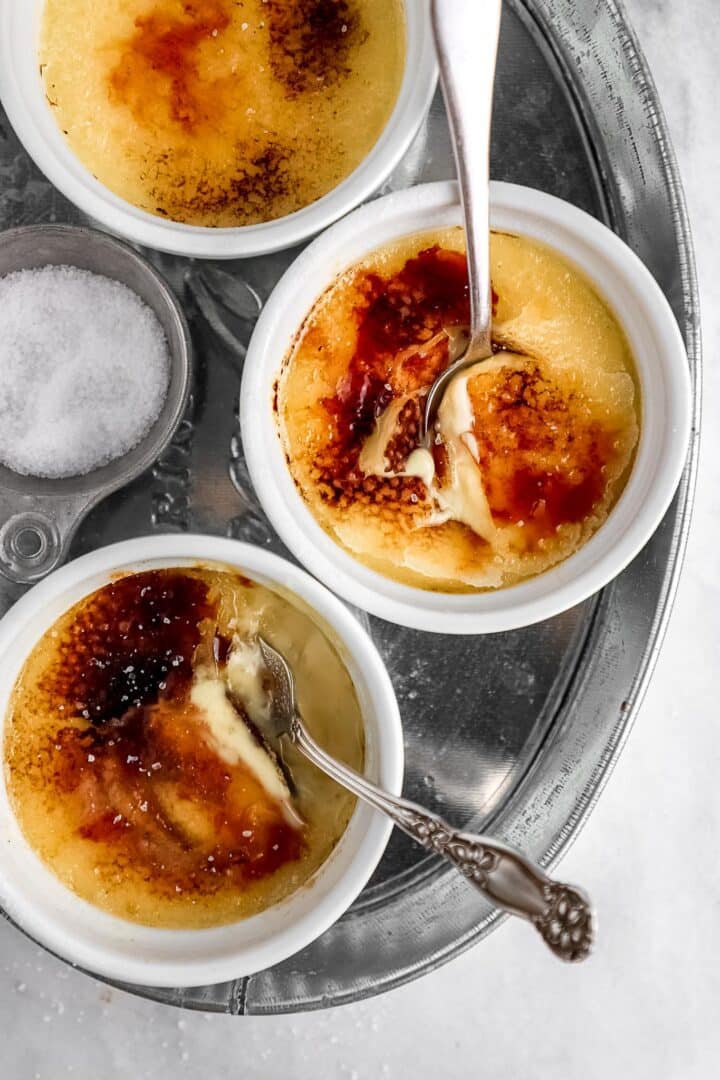
Creme brulee is a classic French dessert. It seems so fancy, but gluten free creme brulee isn't too hard to make! The tricky components are doing a water bath and tempering the egg yolks. Other than that, it's a walk in the park!
My gluten free crème brûlée recipe is the perfect dessert for a dinner party or holiday. It's more work than chocolate chip cookies, so I think it's fun to serve on special occasions.
If you love this recipe, be sure to check out my Halloween snack mix with popcorn and gluten-free apple galette recipe.
Jump to:
What is creme brulee custard made of?
It's a traditional dessert made of eggs, cream, vanilla, and sugar. These ingredients come together to form an egg custard base. Finally, the egg custard is topped with granulated sugar and carmelized with either a blow torch or broiled in the oven.
Creme Brulee Without a Kitchen Torch
You can easily make this dessert without a kitchen torch. After sprinkling the top of each custard with sugar, broil in the oven on the top rack for 5 minutes. Broiling with make caramelized sugar on the top of the creme brulee without a kitchen torch. I will go more into detail on this in the instructions.
Ingredients
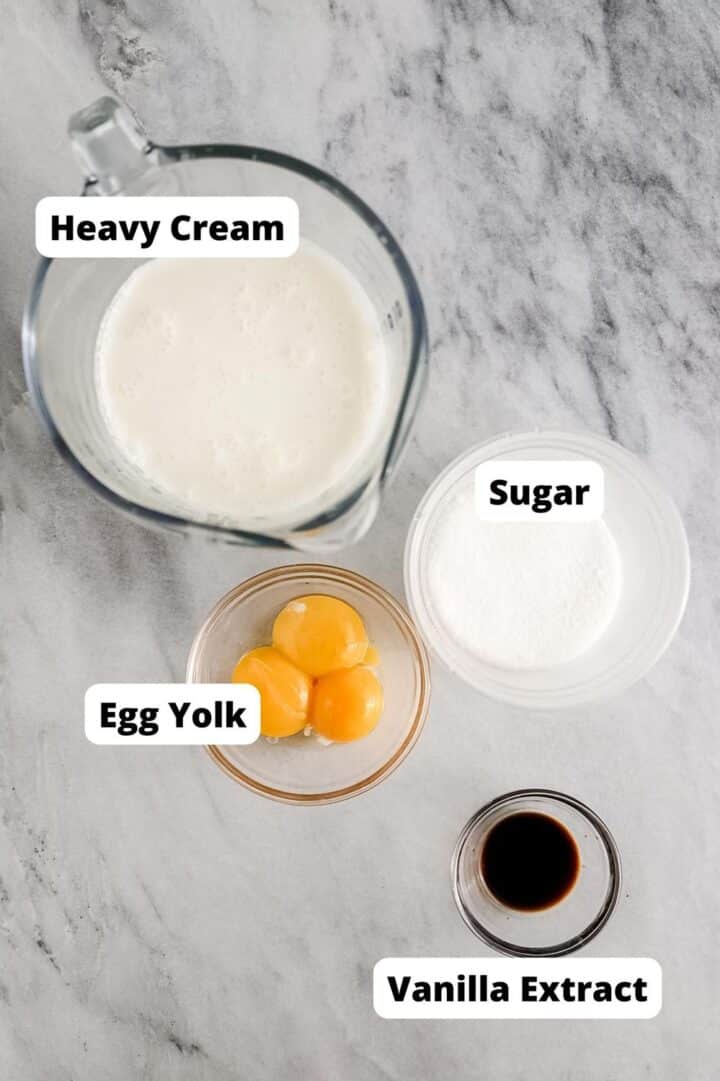
- Heavy cream
- Egg Yolks: save the egg whites for an omelet and just use the Egg Yolks.
- Vanilla: I use vanilla extract, although a traditional recipe for creme brulee calls for a vanilla bean. You can use a vanilla bean.
- Granulated sugar
See recipe card for quantities.
Instructions
Preheat the oven to 375 degrees. Place four 6-ounce ramekins in a 18x12x3 cake pan. Set aside.
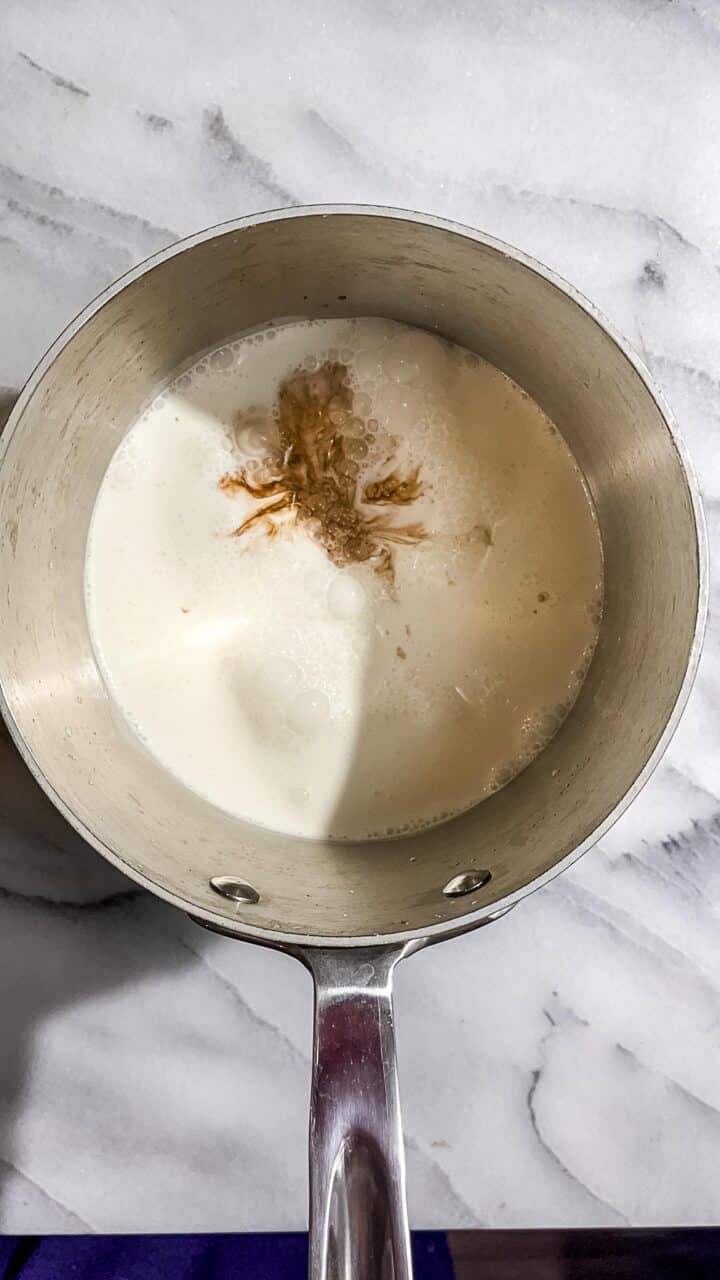
Heat the cream and vanilla extract on the stove on medium heat in a large saucepan. No need to stir. Bring to a roaring boil and remove from heat. Let rest for 10-12 minutes.
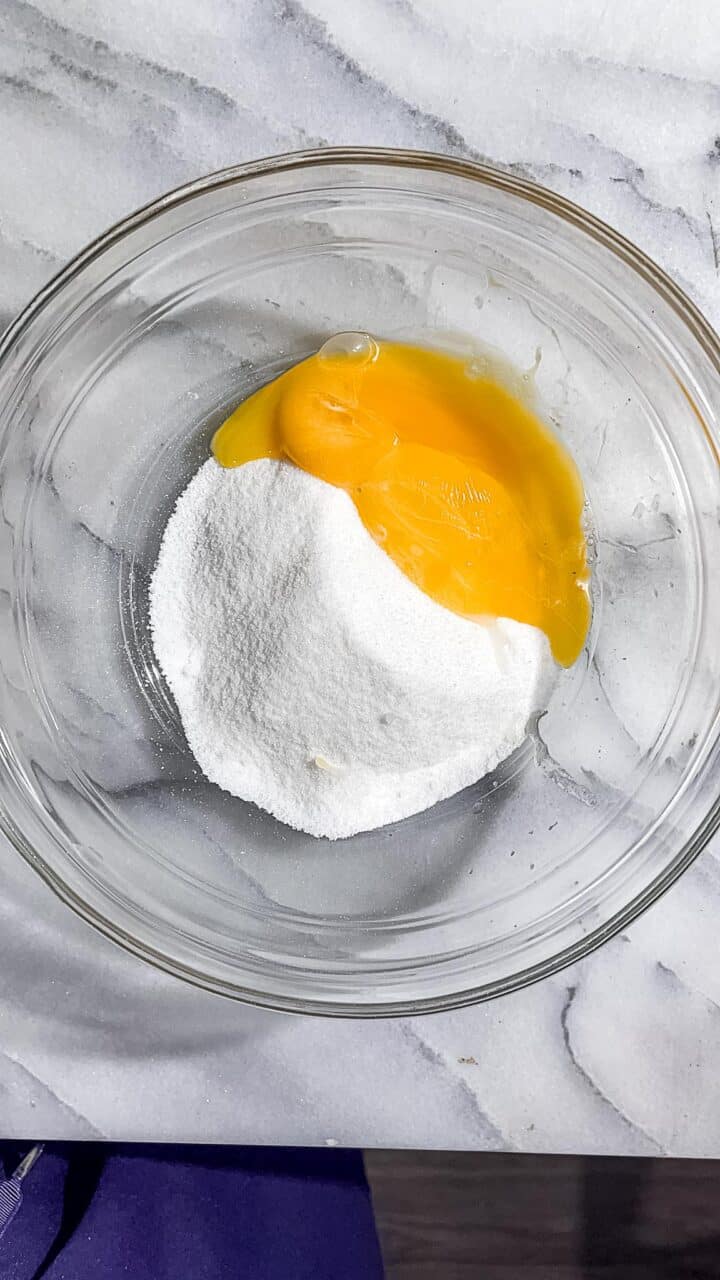
In a medium bowl, mix together ⅔ cup granulated sugar and the egg yolks. Use a whisk and mix until combined.
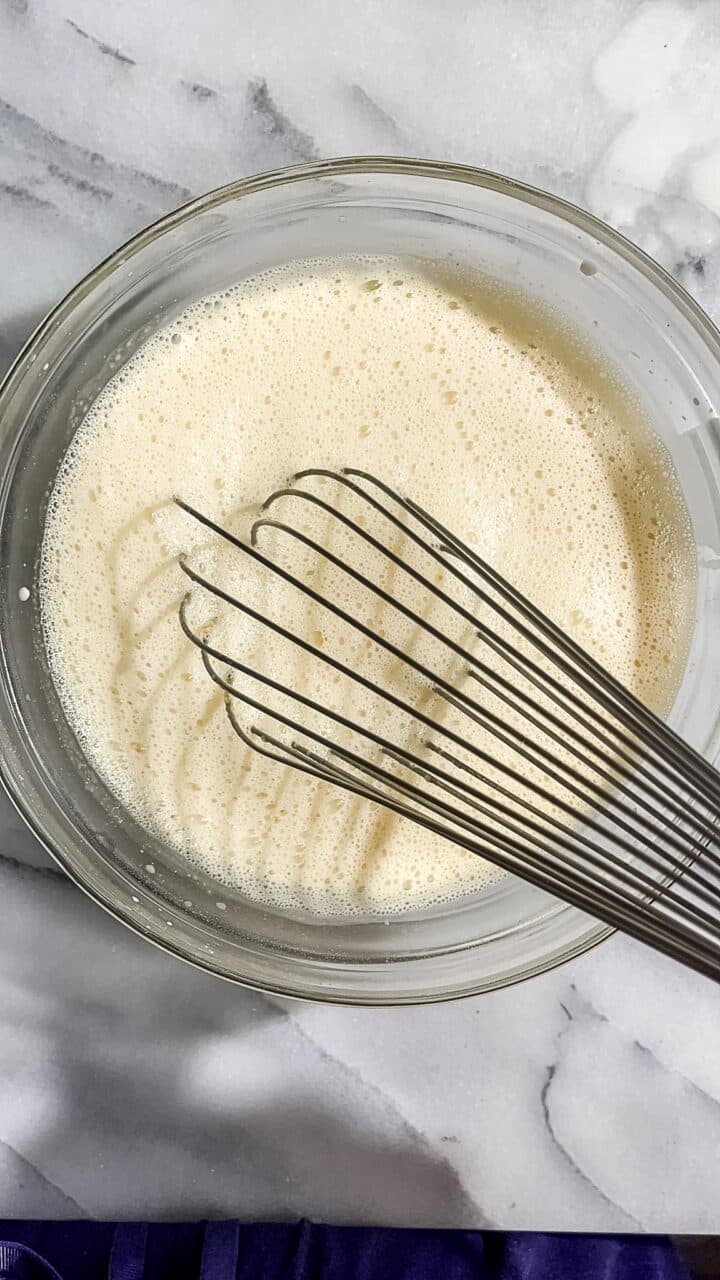
Strain the cream mixture to remove any clumps. Slowly pour into the egg yolk sugar mixture while stirring constantly. The mixture will be runny.
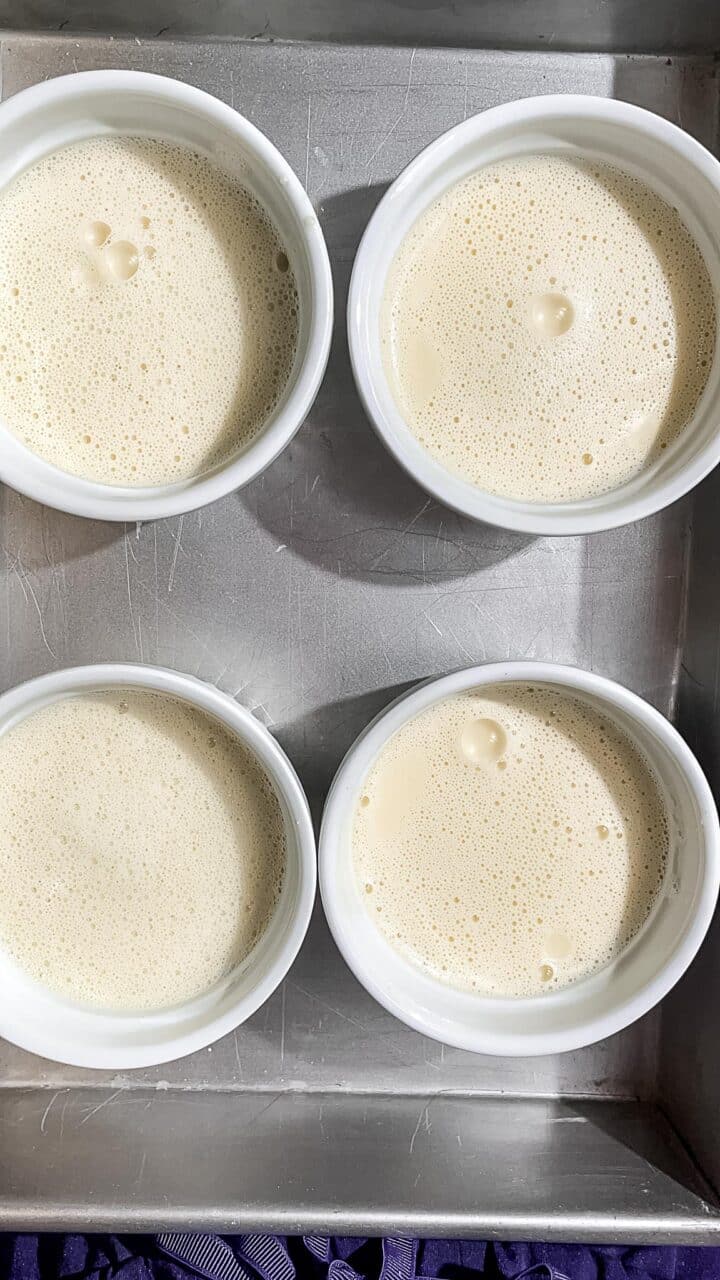
Divide the liquid evenly between all four 6-inch ramekins. Make sure those ramekins are placed inside the 18x12x3 cake pan.
Fill the 18x12x3 cake pan with hot water, being careful to not get any water inside the ramekins. Fill the cake pan until the water is two inches below the top of the ramekins.
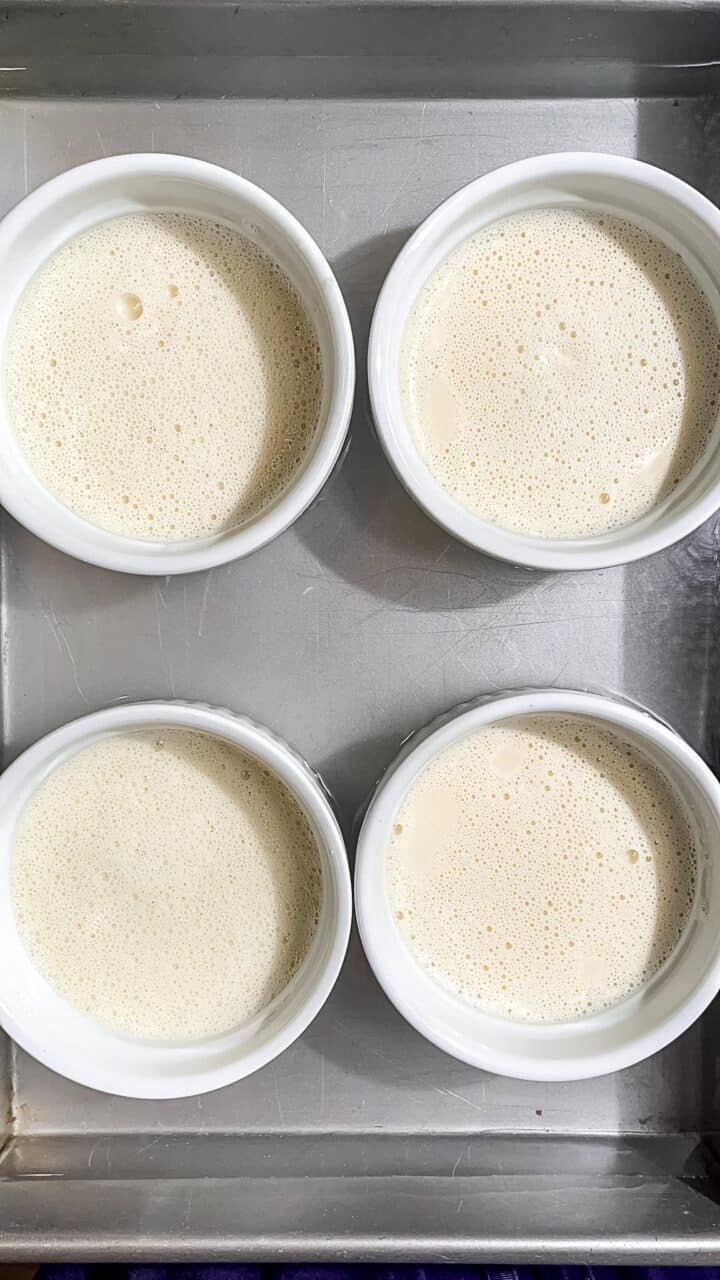
Bake in the oven for 40 minutes.
Remove from the oven and let rest on the counter for 15 minutes.
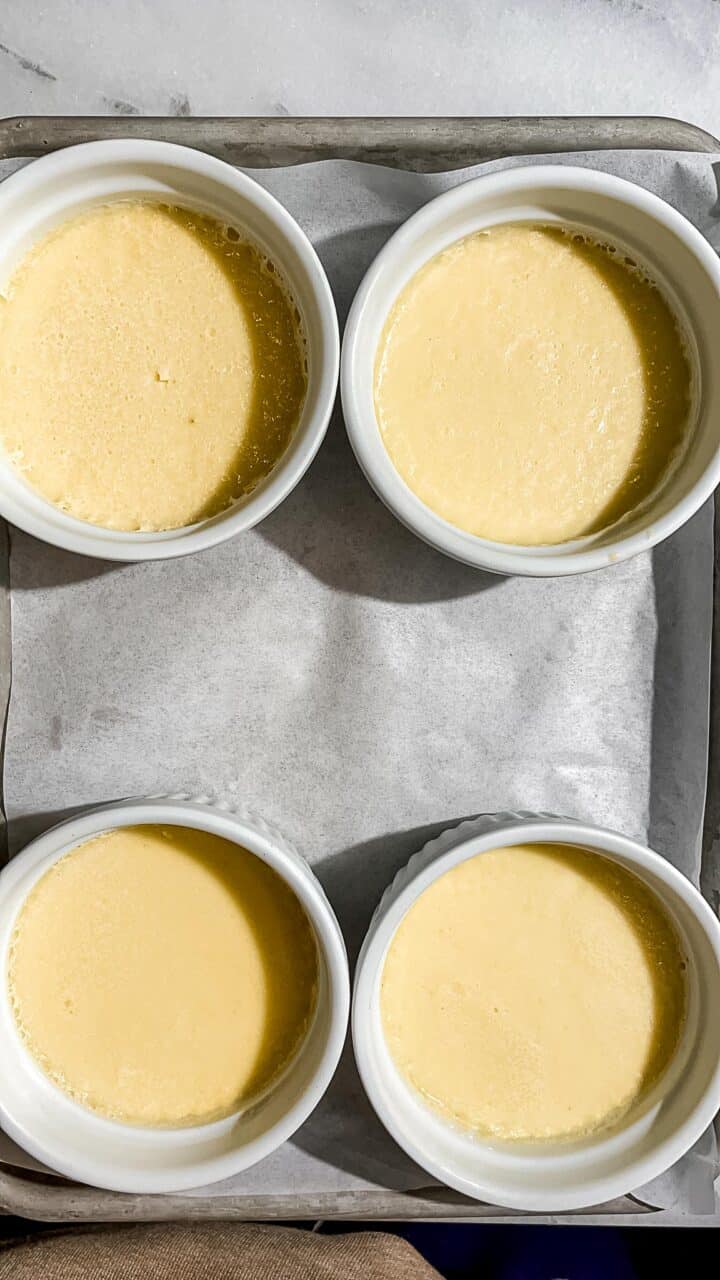
Take the ramekins out of the water bath and place ramekins on a baking sheet. Chill in the refrigerator for at least 3 to 6 hours.
After chilling, sprinkle the top of each ramekin with the remaining ⅓ cup of sugar. Divide the ⅓ cup of sugar evenly between all four ramekins.
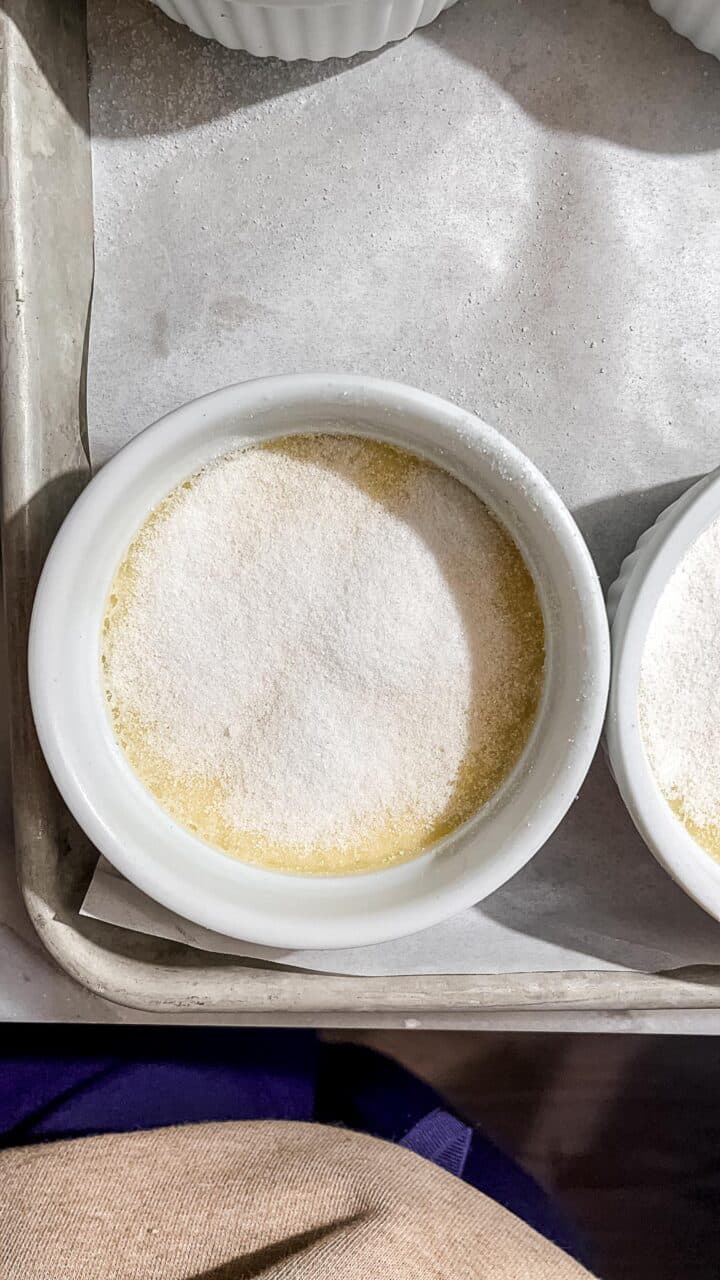
Blow torch method: use your blow torch to caramelize the top.
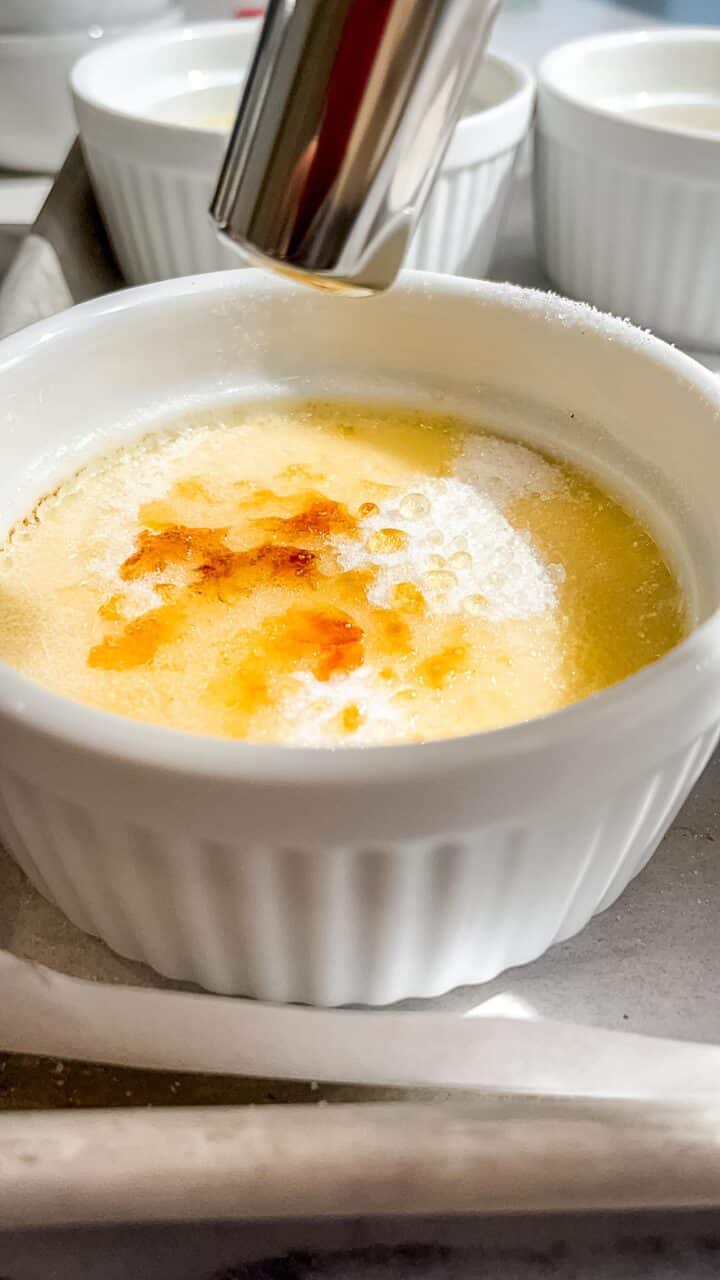
Broiling method: place the ramekins on a baking sheet and broil in the oven on the top rack for 5 minutes.
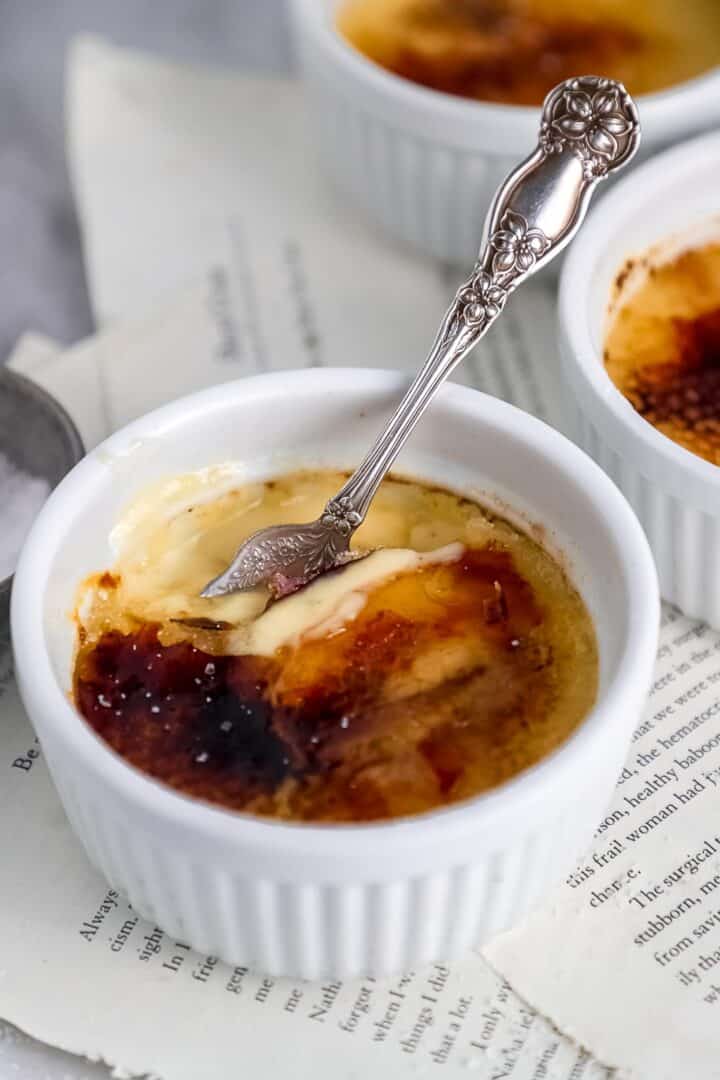
Hint: after removing the creme brulee from the oven, the custard will still be a little soft in the middle. That is normal and totally fine.
Substitutions
- Brown sugar - instead of granulated sugar on top of each creme brulee, you can use brown sugar.
- Vanilla extract - use a vanilla bean instead of vanilla extract. Be sure to remove the bean after boiling with the cream.
Variations
- Salty - add flakey sea salt on top of each creme brulee after carmelizing.
- Ice cream - serve with vanilla ice cream.
See this cookies & cream frozen yogurt on my website!
Equipment
Storage
After baking the custards, you can store the creme brulee, covered, in the refrigerator for four days. Sprinkle the top with sugar and caramelize right before serving.
Top tip
Strain the cream and vanilla mixture to remove any clumps.

Easy Gluten Free Creme Brulee
Ingredients
- 2 cups heavy cream
- 1 teaspoon vanilla extract
- ¾ cup granulated sugar
- 3 egg yolks
- Hot water
Instructions
- Preheat the oven to 375 degrees. Place four 6-inch ramekins in a 18x12x3 cake pan. Set aside.
- Heat the cream and vanilla extract on the stove on medium heat in a large saucepan. No need to stir. Bring to a roaring boil and remove from heat. Let rest for 10-12 minutes.
- In a medium bowl, mix together ⅔ cup granulated sugar and the egg yolks. Use a whisk and mix until combined.
- Strain the cream mixture to remove any clumps. Slowly pour into the egg yolk sugar mixture while stirring constantly. The mixture will be runny.
- Divide the liquid evenly between all four 6-inch ramekins. Make sure those ramekins are placed inside the 18x12x3 cake pan.
- Fill the 18x12x3 cake pan with hot water, being careful to not get any water inside the ramekins. Fill the cake pan until the water is two inches below the top of the ramekins.
- Bake in the oven for 40 minutes.
- Remove from the oven and let rest on the counter for 15 minutes.
- Take the ramekins out of the water bath and place ramekins on a baking sheet. Chill in the refrigerator for at least 3 to 6 hours.
- After chilling, sprinkle the top of each ramekin with the remaining ⅓ cup of sugar. Divide the ⅓ cup of sugar evenly between all four ramekins.
- Blow torch method: use your blow torch to caramelize the top.
- Broiling method: place the ramekins on a baking sheet and broil in the oven on the top rack for 5 minutes.
Notes
FAQ
This recipe for creme brulee is not dairy-free. I haven't developed a recipe for dairy-free crème brûlée yet, but it's on my list! I'll let you know when I make a gluten-free dairy-free creme brulee.
There is no flour in creme brulee, which makes it a naturally gluten-free dessert!
Tried this recipe? Please leave a star ⭐️⭐️⭐️⭐️⭐️ rating below and/or a review in the comments section further down the page. You can also stay in touch with me through social media by following me on Instagram, Pinterest, and TikTok or by subscribing to my newsletter.

Leave a Reply