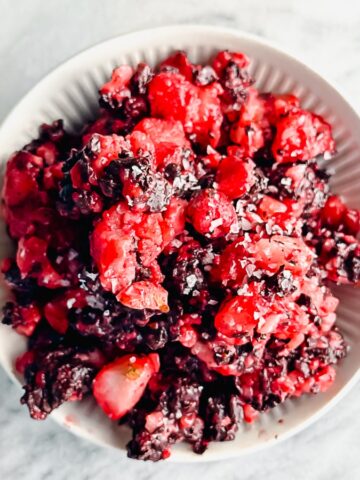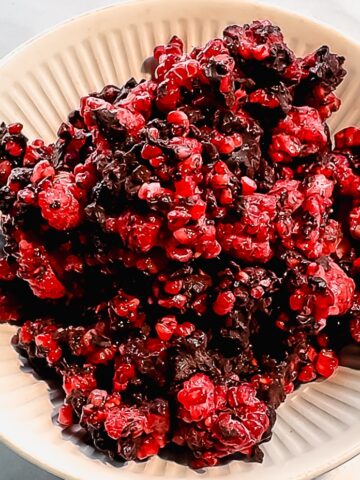
There's something magical about the combination of sweet cherries, creamy coconut, and rich chocolate that transforms an ordinary summer treat into something extraordinary. These homemade cherry coconut white chocolate pops aren't just another popsicle recipe—they're your ticket to creating restaurant-quality frozen desserts right in your own kitchen.
What makes this recipe truly special is the layered flavor experience that unfolds with every bite. The creamy coconut milk base provides the perfect canvas for tart-sweet frozen cherries, while scattered white chocolate chips add delightful textural surprises throughout. But here's the game-changing secret that sets this recipe apart from others: we gently stir in the white chocolate chips rather than blending them, creating pockets of creamy sweetness that won't disappear into the mixture.

Why This Recipe Works Better Than Others
Most cherry popsicle recipes fall short in three key areas: they're either too icy, lack depth of flavor, or don't have that premium finish we all crave. This recipe solves all three problems. The full-fat coconut milk creates an incredibly creamy base that won't crystallize into an icy mess. The combination of frozen cherries with maple syrup provides natural sweetness while maintaining that bright, tart cherry flavor. And the professional chocolate-dipping technique gives you that restaurant-quality presentation that makes these pops feel truly special.
The white chocolate chips are the secret weapon here—they add sweetness and richness without overwhelming the delicate cherry-coconut balance. Unlike other recipes that blend everything together, keeping these chips whole creates delightful surprises in every bite.
Equipment
Silicone Popsicle Molds (Magnum-style preferred): Silicone molds are essential for easy removal without breaking your beautiful pops. Magnum-style molds give you that premium bar shape that's perfect for chocolate dipping.
High-Speed Blender: A powerful blender ensures your coconut milk and cherry mixture becomes completely smooth without any chunks, creating that creamy, professional texture.
Microwave-Safe Bowl: Needed for melting the dark chocolate coating evenly. A microwave gives you better control over the melting process than a double boiler for this recipe.
Parchment-Lined Tray: Essential for placing your chocolate-dipped pops. Parchment prevents sticking and makes cleanup effortless.
Tall Drinking Glass: This is the pro tip for easy chocolate dipping—pour your melted chocolate into a tall, narrow glass that's just wide enough for your popsicles. This ensures even coating with minimal waste.

The Perfect Cherry Coconut Base
The foundation of exceptional popsicles starts with your base mixture. Unlike ice cream that relies on churning for texture, popsicles depend entirely on the right balance of fats, sugars, and liquids to achieve that perfect creamy consistency. The full-fat coconut milk provides richness, while the natural sugars in the cherries and maple syrup prevent the mixture from freezing too hard.
When selecting your frozen cherries, don't worry about thawing them first—blending them while frozen actually helps create a smoother mixture and maintains the vibrant color. The key is using just enough maple syrup to balance the tartness without making the pops overly sweet, since the white chocolate chips will add plenty of sweetness throughout.
Mastering the Chocolate Dip
The chocolate shell is what transforms these from simple homemade pops into something that rivals premium ice cream bars. The secret is in the temperature and technique. Your chocolate needs to be just warm enough to be fluid but not so hot that it melts your frozen pops immediately.
Adding coconut oil to the melted chocolate isn't just about making it easier to work with—it creates that satisfying "snap" when you bite through the shell. The oil prevents the chocolate from becoming too hard and brittle when frozen, giving you that perfect textural contrast between the creamy interior and the crisp exterior.
Working quickly is essential here. Have your parchment-lined tray ready before you start dipping, and work with one pop at a time. The chocolate will begin to set within seconds of contact with the frozen pop, so there's no time to hesitate.

Storage and Serving Tips
These pops are best enjoyed within the first week of making them, though they'll keep well in the freezer for up to two weeks when stored properly. The key to maintaining their quality is preventing freezer burn and flavor transfer from other foods.
Store them in an airtight container once the chocolate shell has completely set. If you're planning to make them ahead for entertaining, prepare them up to three days in advance for optimal texture and flavor. Need something savory to balance out all this sweetness? Try this easy cashew chicken salad recipe for a refreshing meal.

Perfect Pairings and Variations
While these pops are incredible on their own, they're also wonderful as part of a larger dessert spread. Serve them alongside fresh fruit or after a light summer meal like this gluten-free Sweetgreen harvest bowl for the perfect balance of healthy and indulgent.
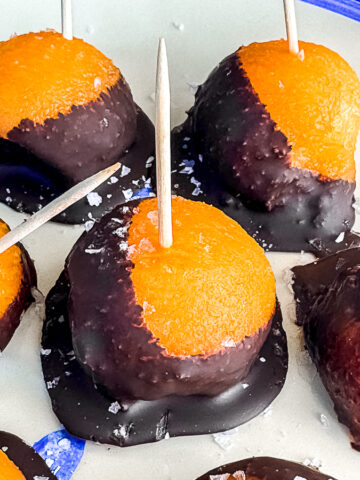
For those who love experimenting with flavors, this base recipe is incredibly versatile. Try substituting the cherries with fresh strawberries during peak season, or add a handful of mini dark chocolate chips along with the white chocolate for an even more decadent treat. Looking for more chocolate-dipped inspiration? Check out these chocolate-dipped watermelon bites for another sophisticated summer treat.

Cherry Coconut White Chocolate Pops (Dipped in Dark Chocolate)
Equipment
- High-speed blender
- Silicone popsicle molds
- Microwave-safe bowl
- Parchment-Lined Tray
- Tall drinking glass (for chocolate dipping)
Ingredients
- 1 can 13.5 oz full-fat coconut milk
- 1½ cups frozen cherries
- 2 tablespoons maple syrup or more to taste
- ½ cup white chocolate chips plus more for drizzle
- 1½ cups dark chocolate chips or chopped dark chocolate
- 1 tablespoon coconut oil for melting chocolate
- Popsicle sticks
- Silicone popsicle molds Magnum-style or any shape you like
Instructions
- Blend the Base: In a high-speed blender, blend coconut milk, frozen cherries, and maple syrup until completely smooth.
- Add the White Chocolate Chips: Pour the mixture into a bowl and gently stir in the white chocolate chips (do not blend them).
- Fill the Molds: Pour the cherry coconut mixture into your silicone popsicle molds. Insert popsicle sticks and freeze until solid, about 6 hours or overnight.
- Dip in Dark Chocolate: Once frozen, pop the bars out of the molds. In a microwave-safe bowl, melt the dark chocolate and coconut oil in 30-second intervals until smooth. Dip each bar into the melted chocolate and let excess drip off. Place on a parchment-lined tray.
- Drizzle with White Chocolate: Melt extra white chocolate and drizzle over the chocolate-dipped bars using a spoon or piping bag for a decorative finish.
- Freeze to Set: Return the bars to the freezer for 10–15 minutes to harden the shell completely. Then enjoy!
Notes
Don't blend the white chocolate chips—stirring them in creates better texture
Pour melted chocolate into a tall, narrow glass for easier dipping
Work quickly when chocolate dipping as the coating sets fast on frozen pops
Store in an airtight container in the freezer for up to 2 weeks