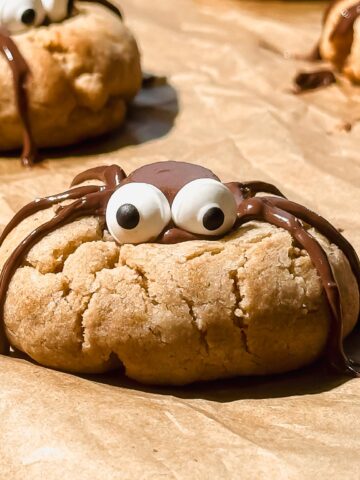
This spooky-cute Halloween chocolate bark is the easiest seasonal dessert you'll make all October. Here's the trick that makes it better than other bark recipes: using high-quality dark chocolate and working quickly to add toppings before the chocolate sets. That's it. No tempering, no candy thermometer, no fuss. Just melted chocolate, fun toppings, and 30 minutes in the fridge.
I've been making Halloween treats gluten-free for over 10 years now, and as a future Registered Dietitian, I know how important it is to create recipes that taste incredible without overthinking the process. This bark checks every box: it's naturally gluten-free, comes together in under 10 minutes of active time, and looks impressive enough for a party but simple enough for an after-school snack.
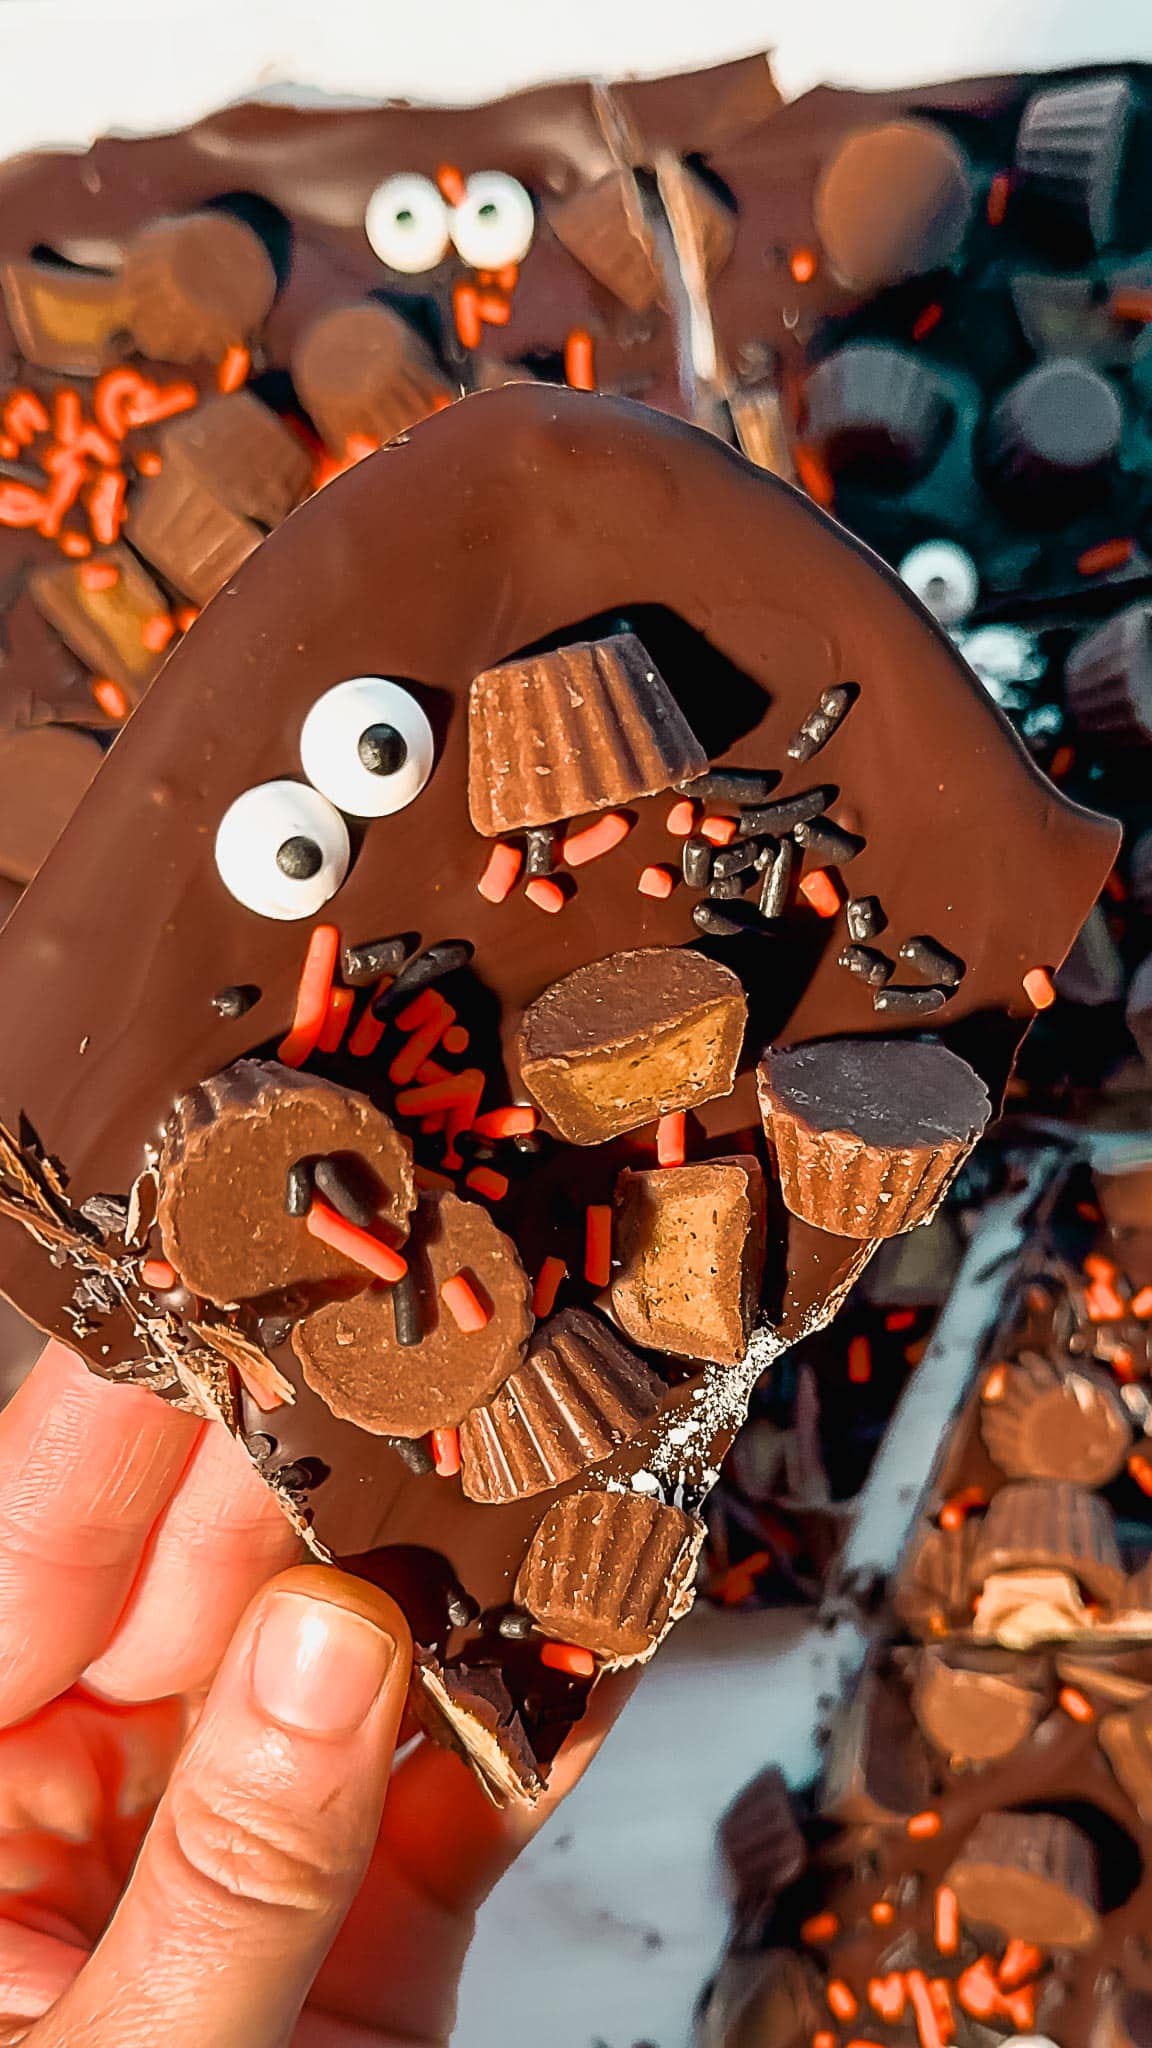
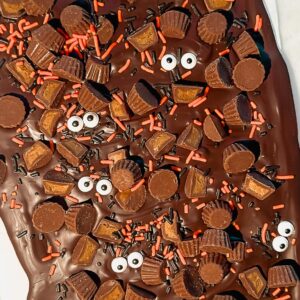
The combination of dark chocolate with mini peanut butter cups creates a sweet and salty balance that's absolutely addictive. Add some candy eyeballs and Halloween sprinkles, and you've got a treat that's equal parts delicious and adorable.
Why You'll Love This Halloween Bark
- Super easy and no-bake. You don't need any special equipment or candy-making skills. Just melt, spread, top, and chill.
- Ready in 30 minutes. From start to finish, you can have this bark ready to serve in half an hour.
- Naturally gluten-free. Made with simple ingredients that are already gluten-free, so everyone can enjoy it.
- Customizable. Swap the peanut butter cups for your favorite candy, add pretzels for crunch, or use white chocolate instead.
- Perfect for parties or gifts. Break it into pieces and package in treat bags for a festive Halloween gift that looks professionally made.
If you're looking for more Halloween dessert ideas, try this Gluten-Free Chicken Cornbread Casserole for a savory option, or keep things sweet with Easy Chocolate Dipped Watermelon Bites.
Ingredients You'll Need
This recipe uses just four simple ingredients, all of which are naturally gluten-free. Here's what you need:
- Dark chocolate chips or chopped dark chocolate (12 oz). I recommend using high-quality dark chocolate for the best flavor and smooth melting. The higher the cocoa percentage, the richer the bark will taste.
- Mini peanut butter cups (1 cup). Cut them in half or leave them whole. Both look adorable.
- Halloween sprinkles (2 tbsp). Look for orange and black sprinkles to keep the theme going.
- Candy eyeballs. These are the secret to making your bark look extra spooky and fun.
Ingredient Notes and Substitutions
- Chocolate: You can use milk chocolate or white chocolate instead of dark chocolate. For a fun twist, swirl in some melted white chocolate after spreading the dark chocolate.
- Peanut butter cups: Swap for any candy you love. Candy corn, chopped Oreos, M&Ms, or chopped pretzels all work beautifully.
- Toppings: Get creative with your toppings. Try adding crushed graham crackers, mini marshmallows, or even a drizzle of caramel.

Equipment
- Microwave-safe bowl for melting the chocolate quickly and evenly.
- Baking sheet to spread the chocolate on.
- Parchment paper or silicone baking mat so the bark doesn't stick and releases perfectly.
- Spatula for spreading the melted chocolate into an even layer.
Step-by-Step Instructions
Step 1: Melt the Chocolate
Place the dark chocolate chips in a microwave-safe bowl. Heat in 20-second intervals, stirring between each, until the chocolate is completely melted and smooth. This usually takes about 60 to 80 seconds total. The key is to stir frequently so the chocolate doesn't burn.
Pro tip: Don't rush this step. If you overheat the chocolate, it can seize up and become grainy.
Step 2: Spread the Chocolate
Line a baking sheet with parchment paper or a silicone baking mat. Pour the melted chocolate onto the prepared sheet and use a spatula to spread it into an even rectangle about ¼ inch thick. You want it thick enough to hold the toppings but thin enough to break into pieces easily.
Step 3: Add the Toppings
Work quickly before the chocolate starts to set. Scatter the halved mini peanut butter cups, candy eyeballs, and Halloween sprinkles evenly over the top. Press them down gently so they stick to the chocolate.
Pro tip: This is where you can get creative. Arrange the toppings in a pattern or go for a more random, organic look.
Step 4: Chill and Set
Place the baking sheet in the refrigerator for 20 to 30 minutes, or until the chocolate is completely firm. Once set, break the bark into pieces with your hands or use a knife to cut it into more uniform shapes.
Step 5: Serve and Enjoy
Transfer the bark to a serving platter or store it in an airtight container in the fridge until you're ready to serve. This bark is perfect for Halloween parties, trick-or-treaters, or just a fun seasonal snack.
Pair this bark with savory snacks like Buffalo Breaded Chicken with Celery Slaw or serve it alongside Cucumber Chicken Salad for a balanced spread.
Tips for the Best Halloween Bark
Use high-quality chocolate. The chocolate is the star of this recipe, so use the best you can find. Cheap chocolate can taste waxy and won't melt as smoothly.
Work quickly. Once you spread the chocolate, you have about 2 to 3 minutes before it starts to set. Have all your toppings ready to go so you can add them right away.
Don't skip the parchment paper. It makes removing the bark so much easier and prevents sticking.
Customize the toppings. This recipe is incredibly forgiving. Use whatever candy or toppings you have on hand.
Break it into irregular pieces. The rustic, uneven look is part of the charm. Don't worry about making it perfect.

Storage and Make-Ahead Tips
Store in the fridge. Keep the bark in an airtight container in the refrigerator for up to 2 weeks. The chocolate can soften at room temperature, especially if your kitchen is warm.
Freeze for longer storage. You can freeze the bark for up to 3 months. Just layer the pieces between parchment paper so they don't stick together.
Make ahead for parties. This bark is perfect for making a few days in advance. It actually gets better after sitting in the fridge for a day or two.
Variations to Try
Candy Corn Bark: Swap the peanut butter cups for candy corn and add white chocolate drizzle.
Sweet and Salty Bark: Add chopped pretzels and a sprinkle of flaky sea salt for a sweet and salty twist.
White Chocolate Bark: Use white chocolate instead of dark chocolate and add orange food coloring for a festive look.
Oreo Bark: Top with chopped gluten-free Oreos for a cookies and cream version.
Caramel Bark: Drizzle with caramel sauce before adding the toppings for an extra indulgent treat.
Frequently Asked Questions
Yes! This bark stores beautifully in the fridge for up to 2 weeks or in the freezer for up to 3 months. It's a great make-ahead dessert for parties.
Use high-quality dark chocolate chips or chopped dark chocolate. Look for chocolate with at least 60% cocoa for the best flavor. Brands like Ghirardelli or Guittard work well.
Stored in an airtight container in the fridge, the bark will last up to 2 weeks. At room temperature, it will last about 3 to 5 days, but the chocolate may soften in warm weather.
Absolutely! Milk chocolate or even white chocolate work great. Just keep in mind that milk chocolate is sweeter, so you may want to balance it with salty toppings like pretzels.
Chocolate can seize if it gets too hot or if water gets into it. Make sure your bowl is completely dry and heat the chocolate in short intervals, stirring frequently.
Yes! This recipe is super flexible. Swap the peanut butter cups for any candy you like, such as candy corn, M&Ms, or chopped Snickers bars.
More Halloween and Seasonal Recipes
Looking for more easy gluten-free recipes? Check out Easy Gluten-Free Egg Bites for a protein-packed breakfast or Creamy Lentil Tomato Soup for a cozy fall meal.
Halloween Peanut Butter Cup Bark
Equipment
- Microwave-safe bowl
- Parchment paper or silicone baking mat
Ingredients
- 12 oz dark chocolate chips or chopped dark chocolate
- 1 cup mini peanut butter cups halved or left whole
- 2 tablespoon Halloween sprinkles orange and black
- Candy eyeballs for decoration
Instructions
- Melt the Chocolate: In a microwave-safe bowl, heat the dark chocolate in 20-second intervals, stirring between each, until smooth and fully melted.
- Spread and Top: Pour the melted chocolate onto a parchment-lined baking sheet. Use a spatula to spread it into an even rectangle, about ¼ inch thick.
- Decorate: Quickly scatter the halved mini peanut butter cups, candy eyeballs, and Halloween sprinkles evenly over the top before the chocolate begins to set.
- Set: Place the tray in the fridge for about 20-30 minutes, or until the chocolate hardens.
- Break and Serve: Once firm, break the bark into pieces and enjoy! Store leftovers in an airtight container in the fridge.
Notes
Work quickly when adding toppings so they stick to the chocolate before it sets.
Customize with your favorite candy or toppings.
Store in the fridge for up to 2 weeks or freeze for up to 3 months.
Shop My Favorite Products
For more kitchen essentials and gluten-free ingredients, check out my favorite products here.